CLIPPING IN RIVE
In this tutorial, we will explore the clipping feature. To start with, let’s create a new Artboard. Hit either M or Create Tools > Artboard. Once we’ve done that, let’s create a curtain for our animation with the Pen Tool (P).
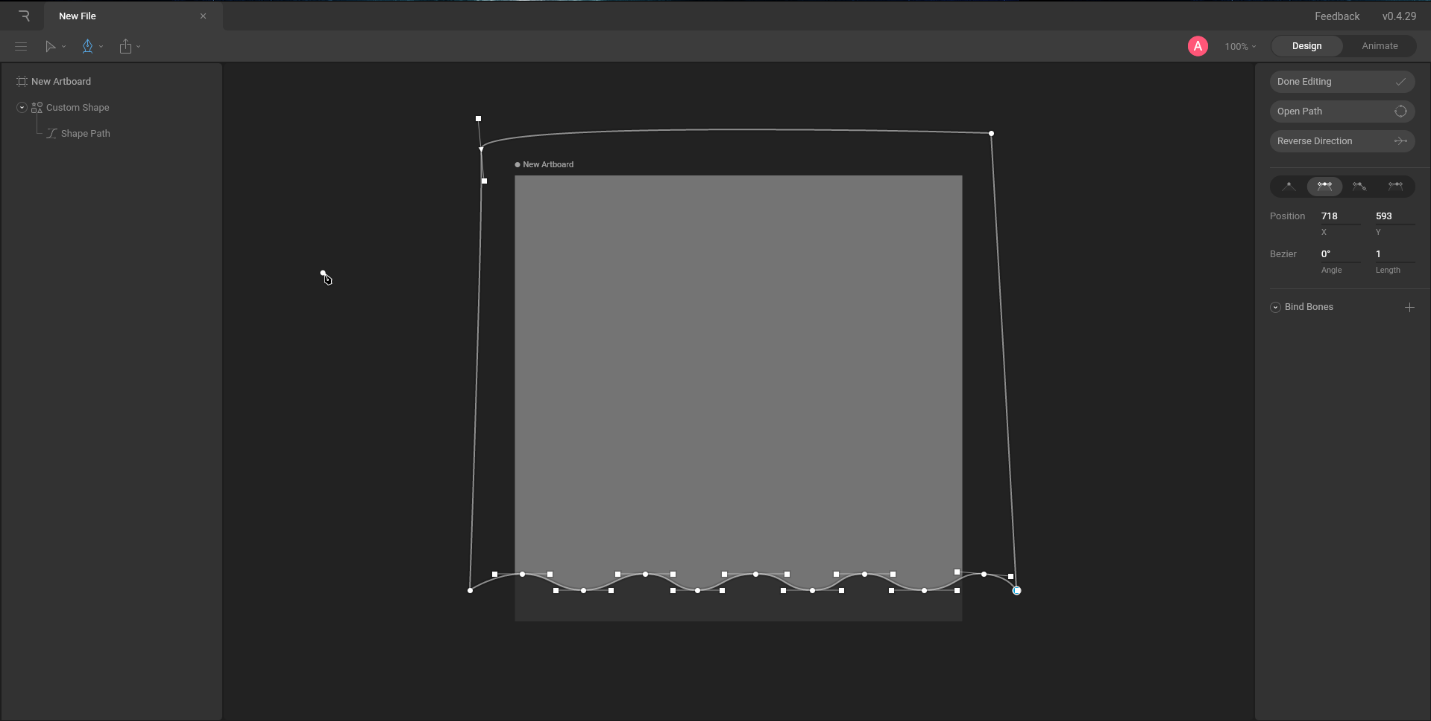
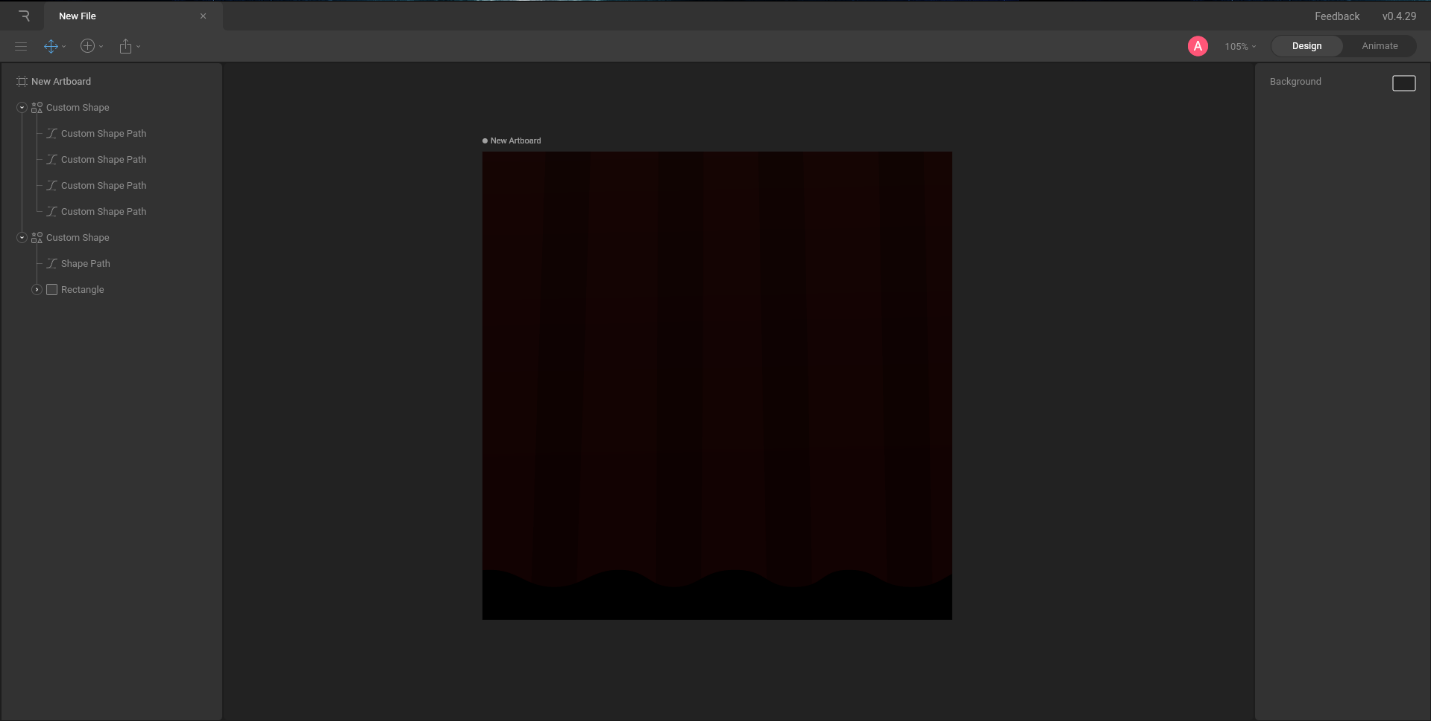
When we’re happy with the shape, let’s colour it a dark red and add some dark stripes. Underneath the curtain, we can add a black rectangle and drag and drop in beneath everything in the hierarchy.
We’ll also need our theatre lights; we can create one by creating a bright yellow circle in the centre of our Artboard. Hit O or Create Tools > Shape > Ellipse.
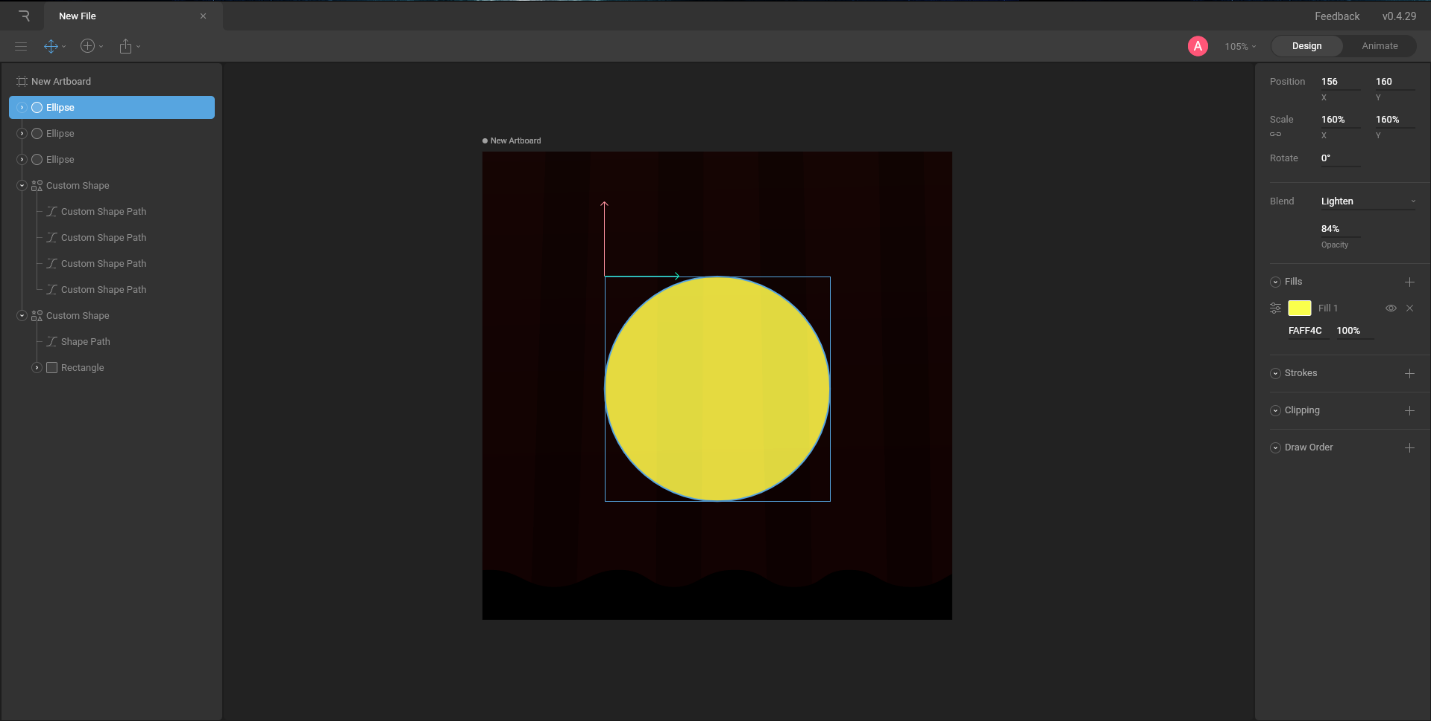
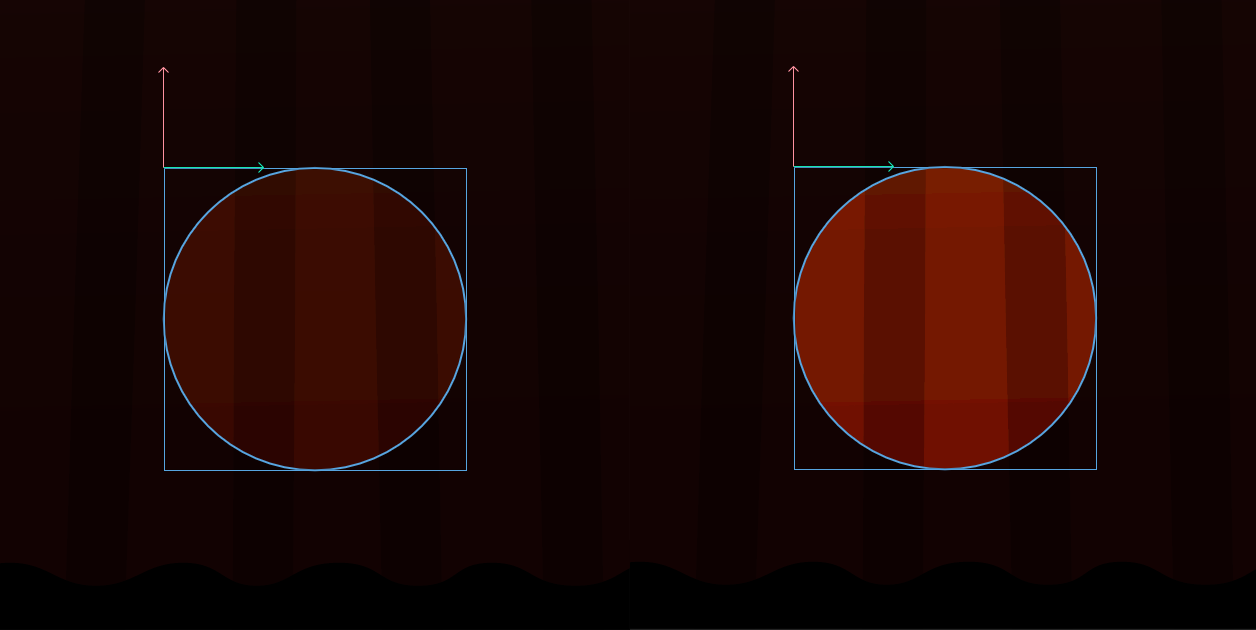
Extra step: For a slightly more transparent light, so our curtains would be just a little bit visible in the background, we can add one circle first, on the Soft Light Blend, available on the right part of the screen. Afterwards, add another circle on top of, the same colour, on the Overlay Blend. And on top of those two, a third circle, this time on the Lighten Blend.
Tip: To create a perfect circle, hold Shift while dragging an ellipse.
Now we’re ready to draw the kitty’s murder mittens – paws. The claws were just one shape, copied and pasted twice, with the third rotated by flipping the X scale to -100. The claws should be within the paw’s hierarchy. Drag and drop the claws into the paw to achieve this.
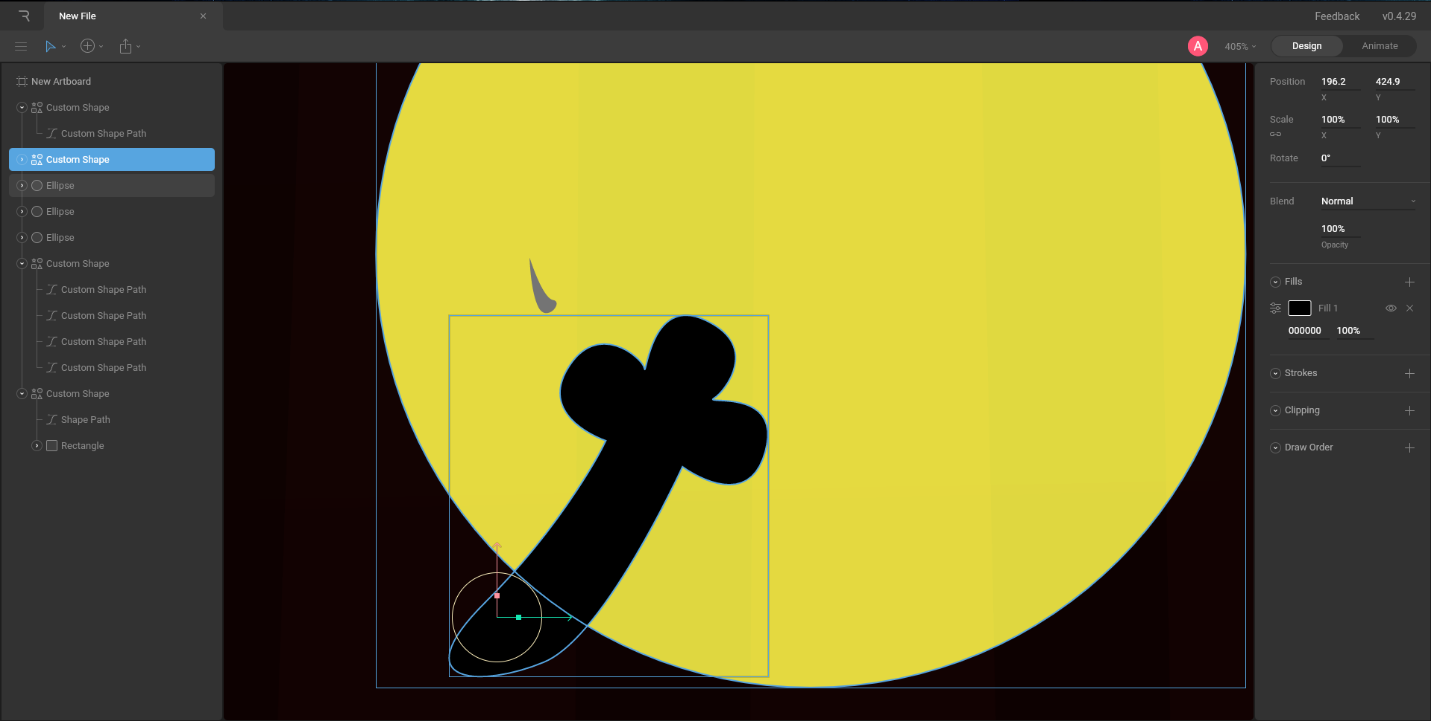
A clipping path is a closed vector path, or shape, used to cut out an image/drawing etc… to clip a drawing to a desired shape, in our case, the paw (with the claws) into the light (circle).
Simply select the paw (drawing you want to place into a shape), and on the right side of the screen, click on the + next to Clipping; and then select the circle (your desired shape).
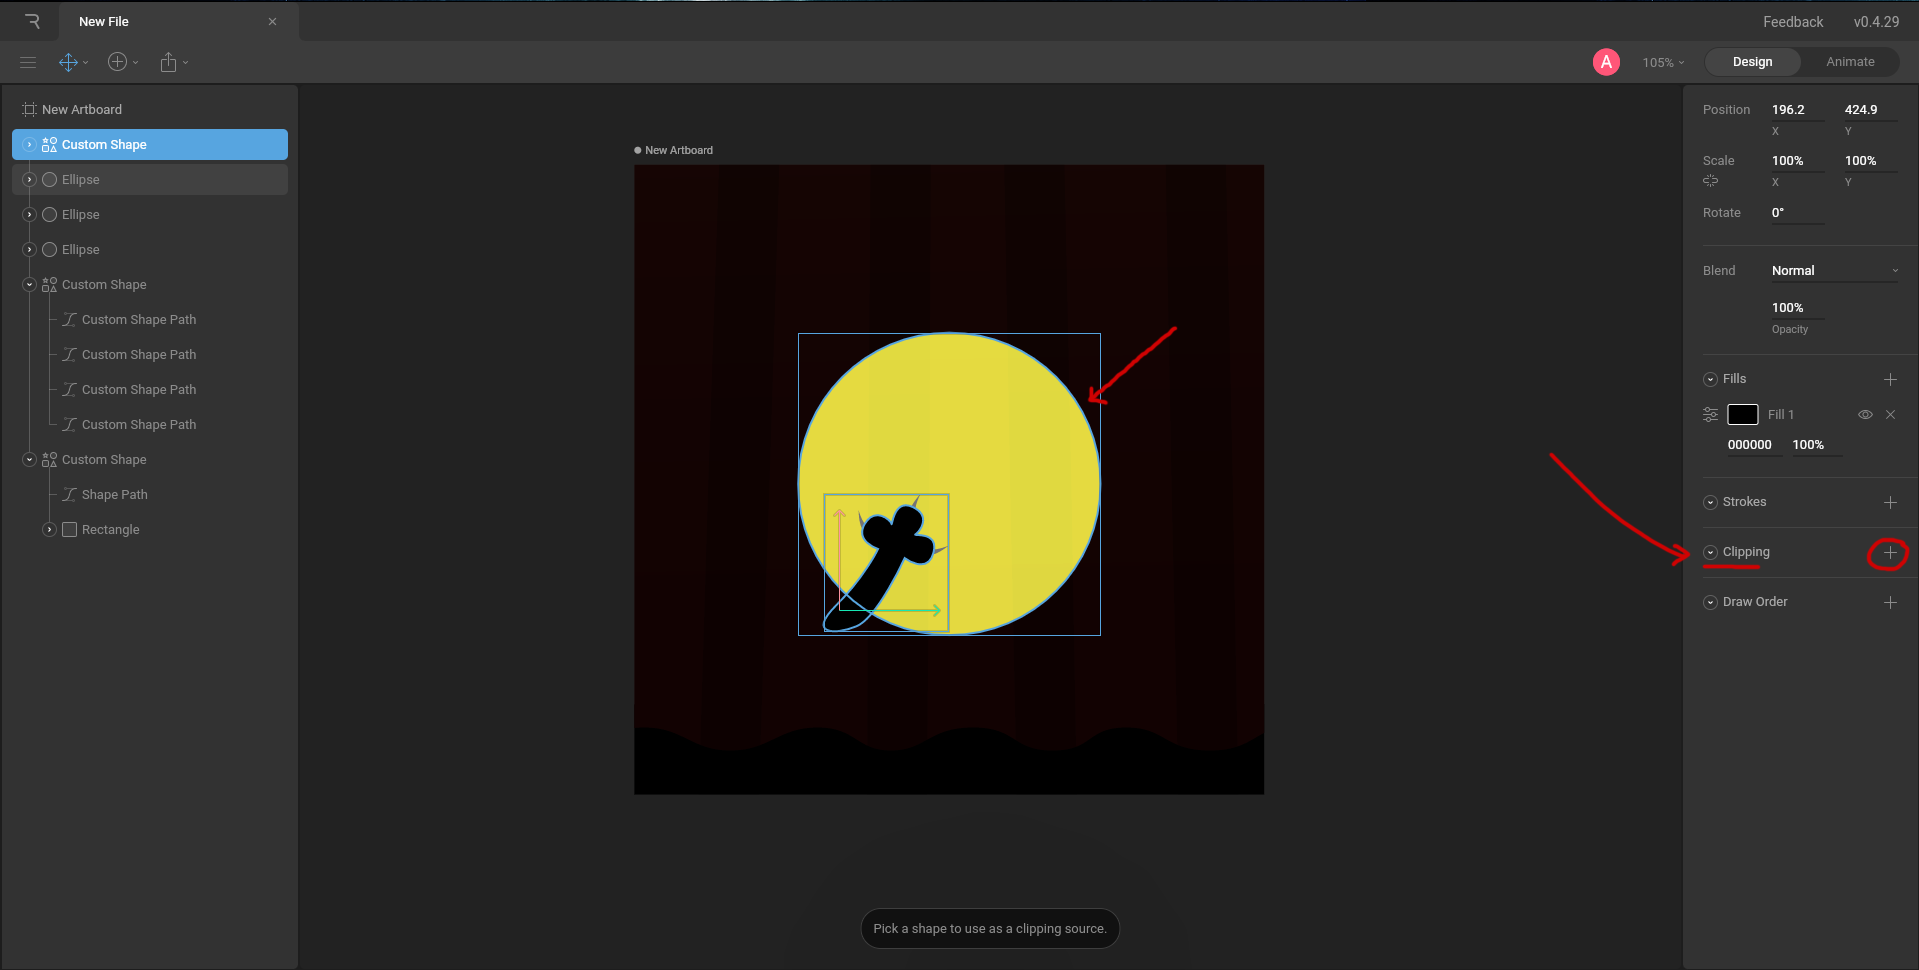
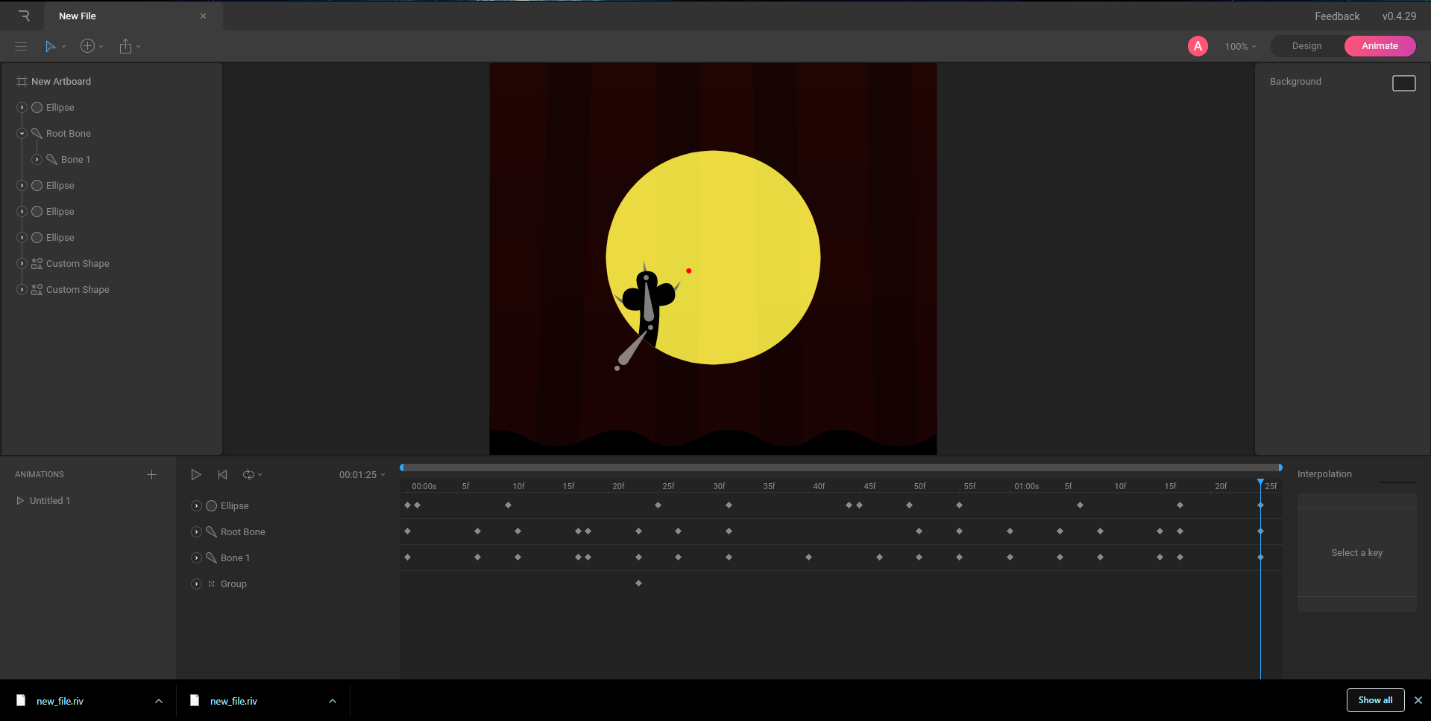
We will repeat this simple step once more, because our cat will also need a little laser dot to follow. Create a small red circle and hit that + within its Clipping options and select the circle.
So, what does this do? The clipping will allow us to move around the paw and laser, without worrying whether either will be visible beneath the light. They will be invisible and will stay within the boundaries of the circular light.
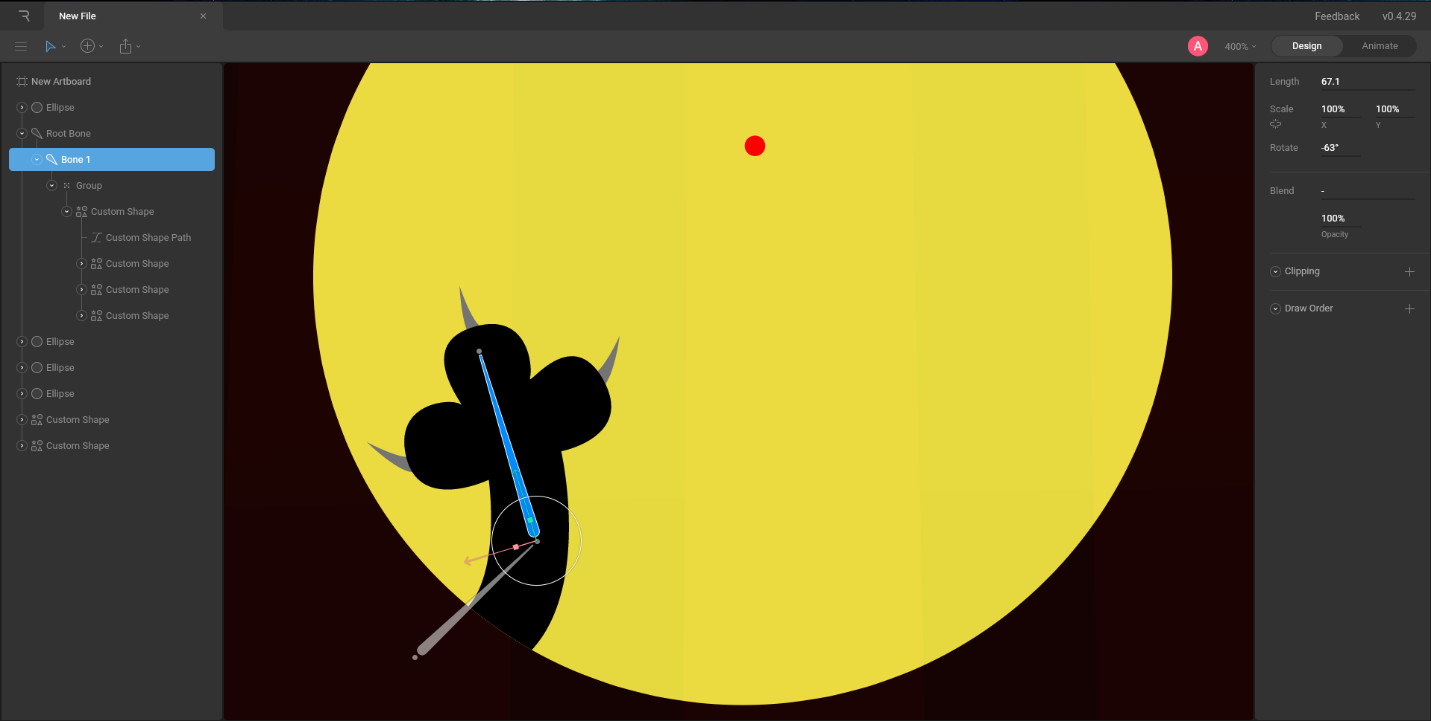
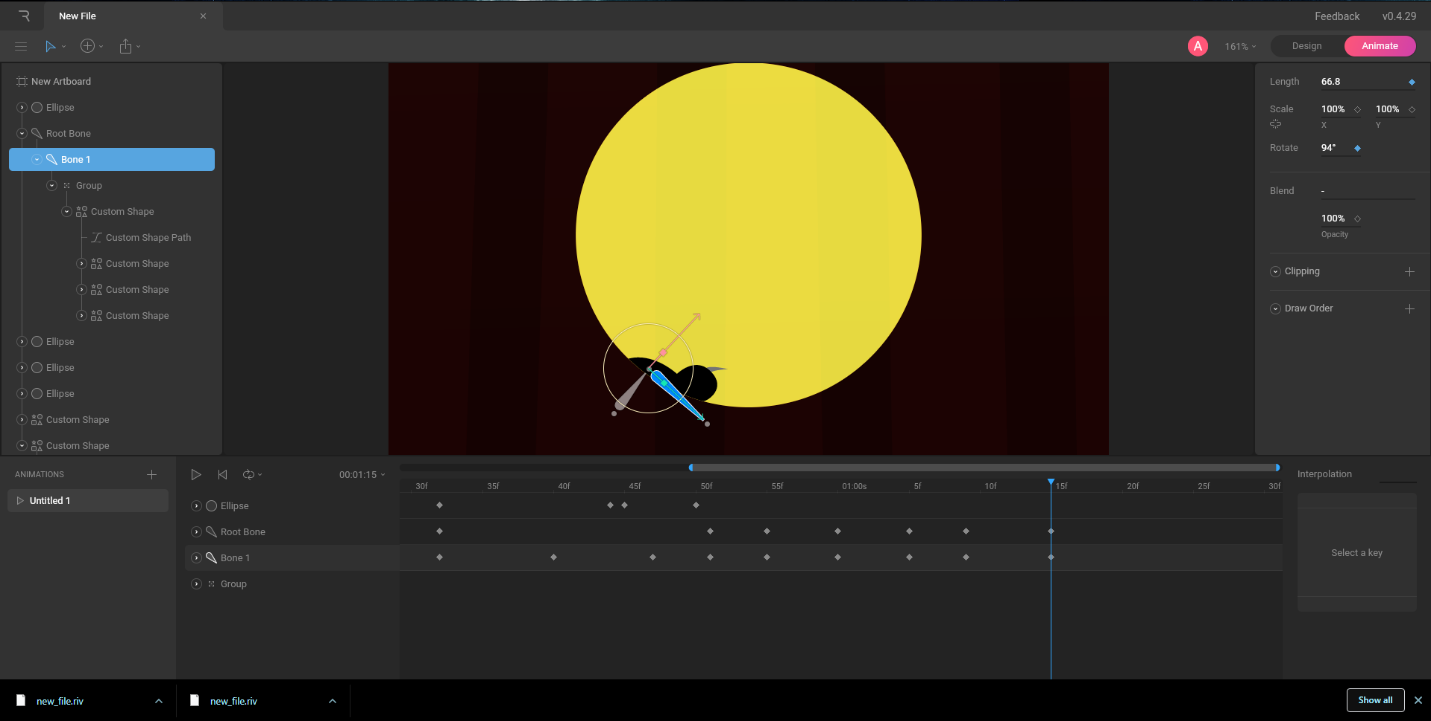
Once we’re happy with the dot, we’re ready to add bones to our paw. We’ll only need two for our kitty. We will add two bones from the Create Tools > Bone or by hitting B. Drag and drop your drawing(s) into the bone hierarchy, making sure that Bone1 is the one that has our paw within its hierarchy, and the Root bone being above Bone 1.
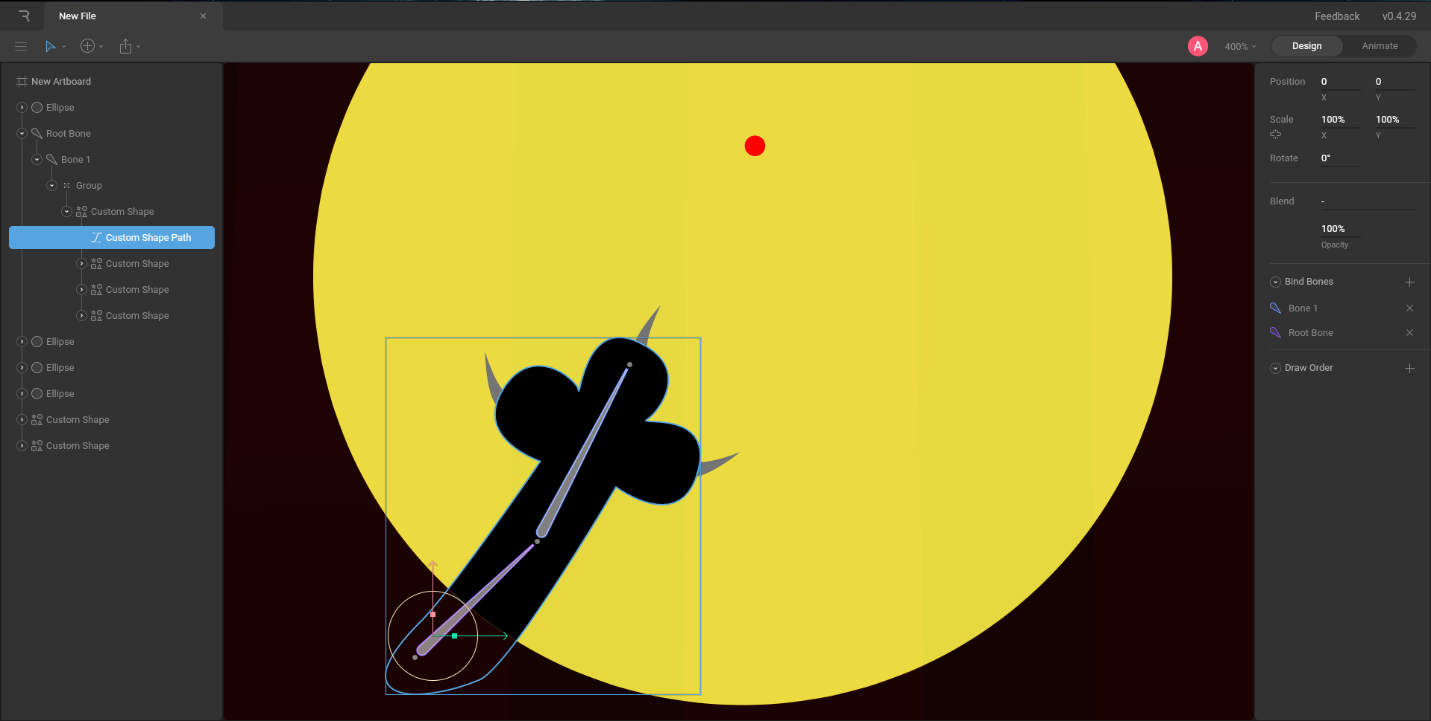
At this stage, we can play around with the Bind Bones options. Firstly, select the paw and click enter twice, or until your vertices are visible again. Clicking on the +, you’ll be asked to pick a bone you wish to bind to the vertices of the shape you previously selected.
Tip: If you’re finding it hard to click on the bone directly on your Artboard, you can also select the bone from the hierarchy.
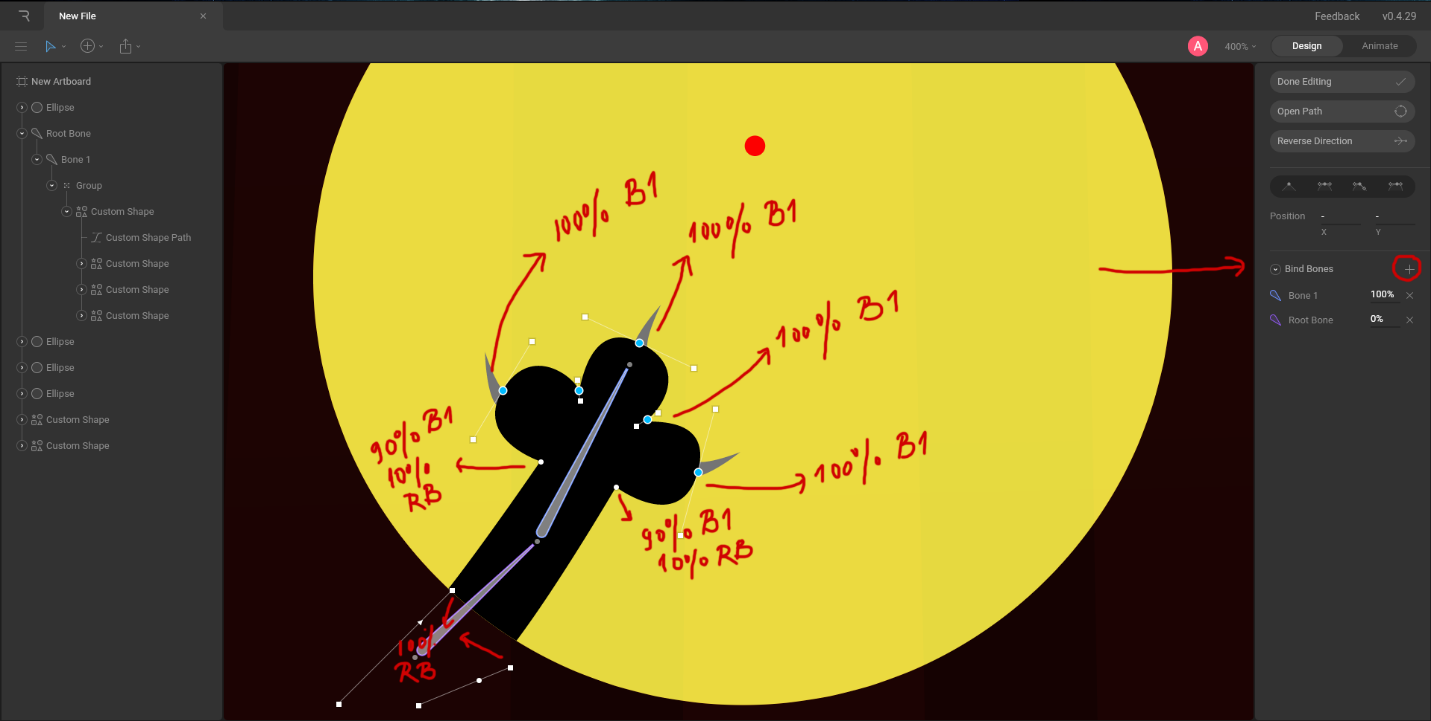
In the Bind Bones option, we bind selected vertices to the bones we want. In our case, we will bind the upper part of our paw to B1 (Bone 1) and the lower to RB (Root Bone). Here is the result we got by Binding our Bones:
We have officially prepared our drawing and it’s ready to be animated, yay!
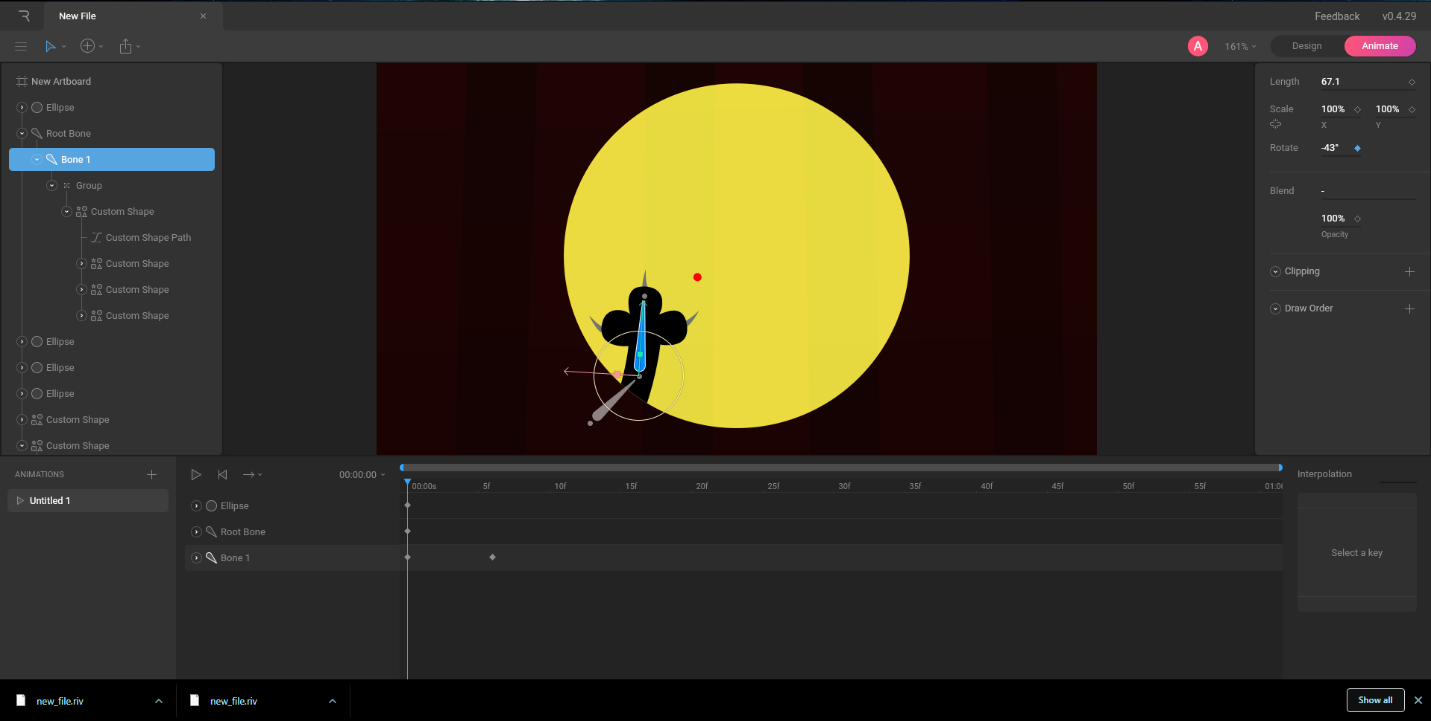
The animation is very simple, we’ll move the paw in a circular motion, and every time it’s about to catch the laser, we move the dot outside the circle. This will also be a looped animation. To set it to loop, click on the third option in the upper left corner on your animation workspace (next to the play button), and change it to loop. It’s set to "One shot" by default

The laser, being clipped to the circle (light), won’t be visible even when we move it to the sides.
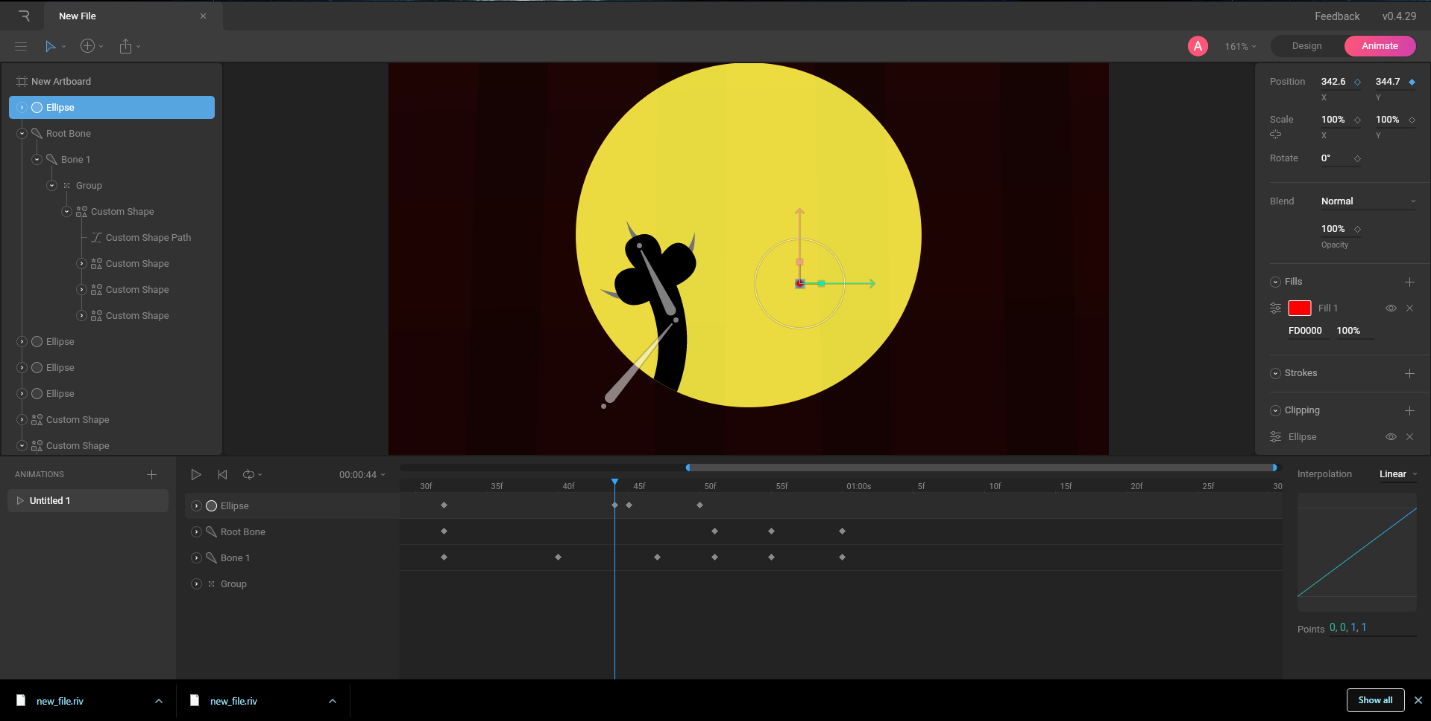
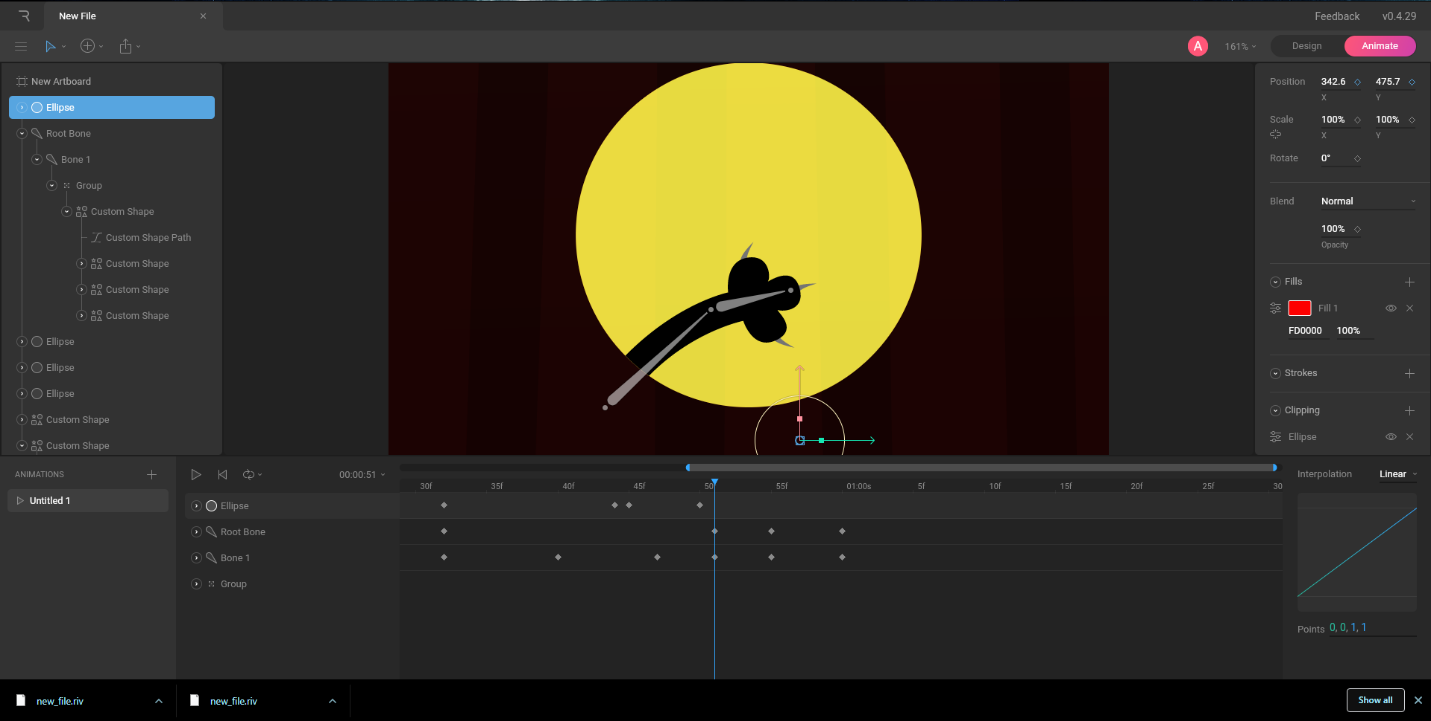
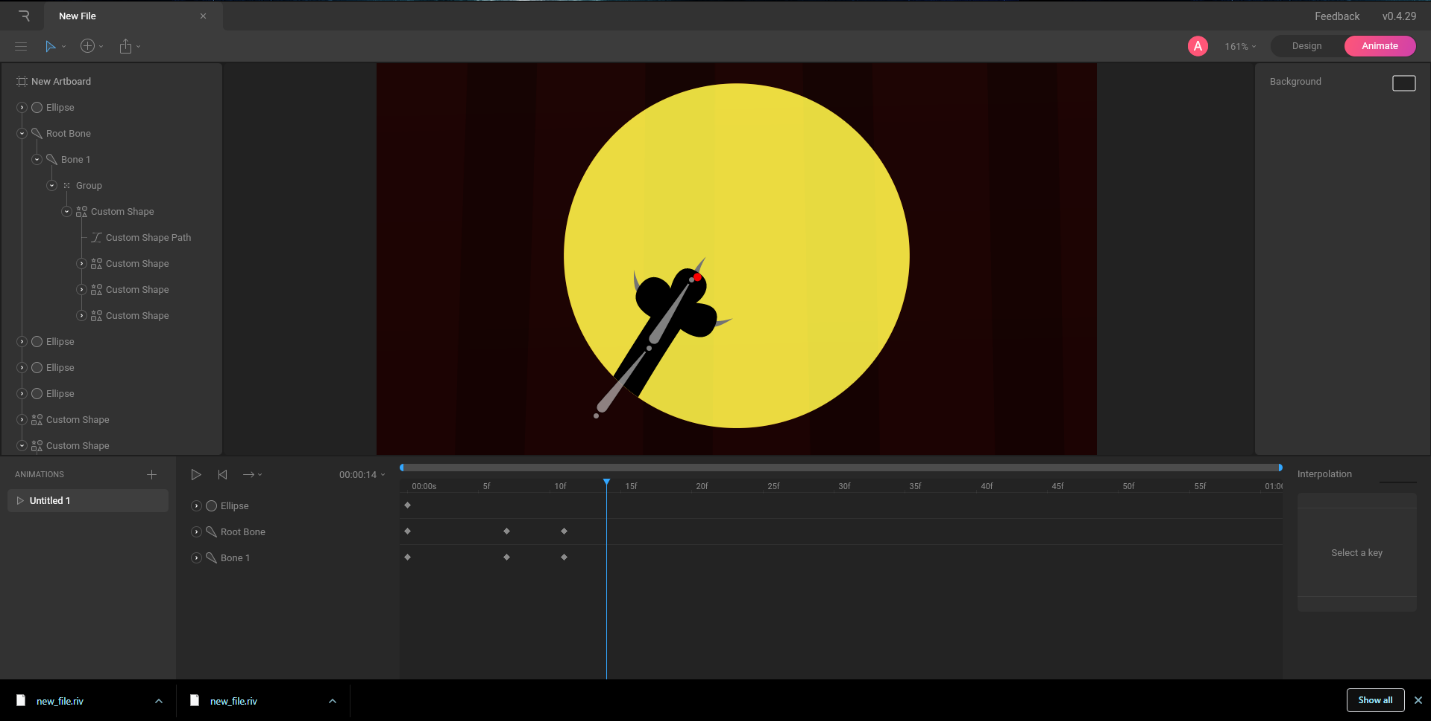
We can continue to animate until we’re ready to loop our paw. At the very end, I bent the paw and moved it outside the visible circle and placed it back into in to its original position from the first frame.
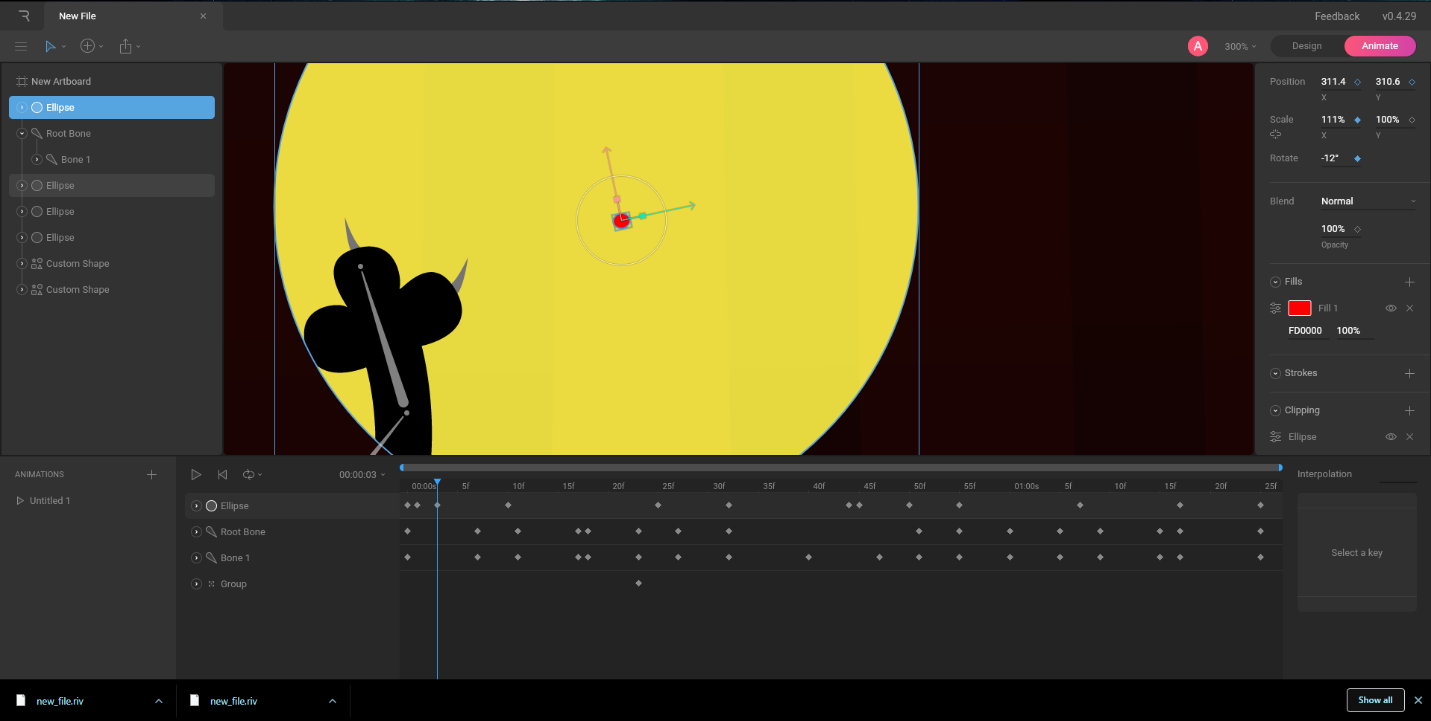
Tip: To add a bit of motion to the laser dot, try squishing in when it’s in movement. This can be done by clicking on the Transform Tool from the Create Tools or by clicking on T and adjusting the size. Make sure it goes back to its original size when it’s not in motion. The easiest way to do this is to add keyframes via the Scale option on the right side of the screen. Add a frame before it’s supposed to move with its size set to 100% * 100% ; and then add another keyframe midway before it stops again, this time with 115% ish * 100% (or vice versa).
Tip 2: Don’t be afraid to play around with the Playback Speed Settings. This animation was set to play on x0.6 as the first version that was made looked a bit too fast.