Trim Path Tutorial
This tutorial will dabble with the Trim Path option, which manipulates a path with a stroke, already drawn with the Pen Tool (Create Tools > Pen Tool; or P on your keyboard)
To demonstrate how to use this handy tool, we’ll animate a flower sprouting from the ground.
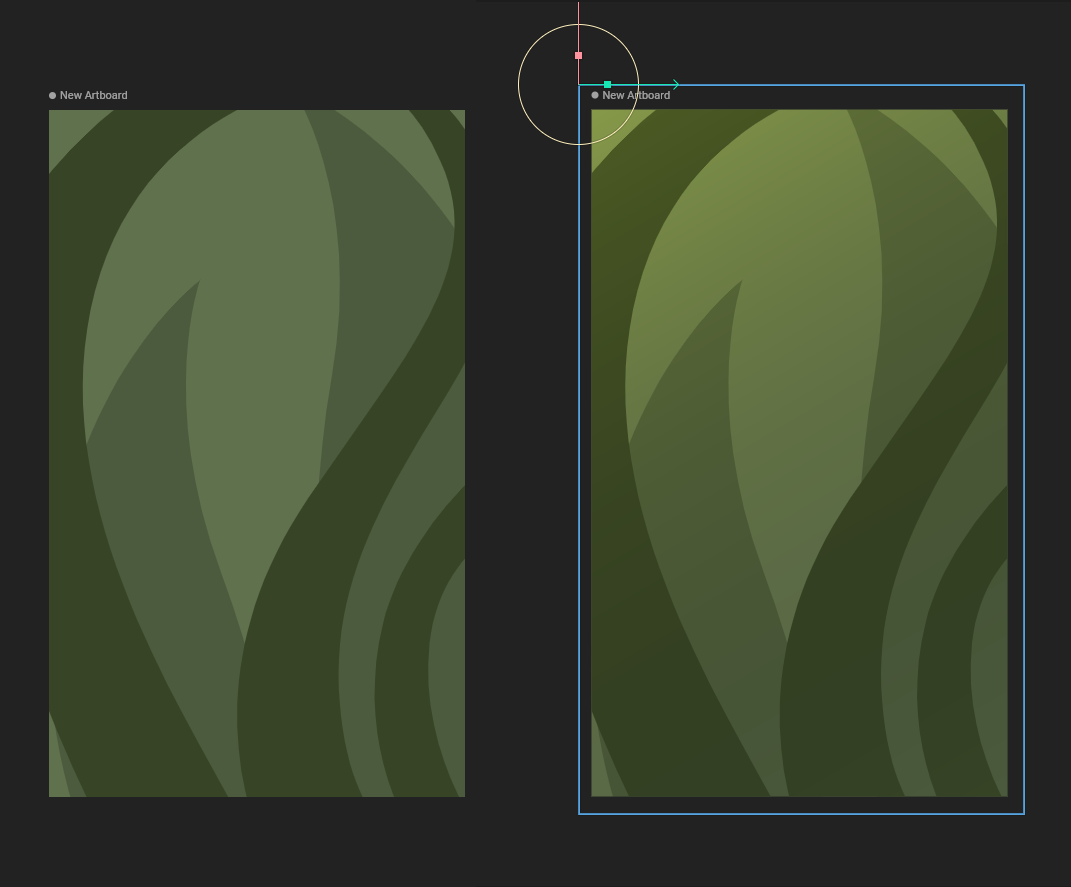
We won’t get into the background too much. This is a simple background with shapes of leaves and roots which were made to be a bit darker than the background. On top of them, a rectangle was placed, of a linear fill, with the Overlay Blend.
In the centre of our workspace, let’s create a wiggly path without a fill but with a stroke of 30ish. The stroke options will appear next to the colour picker. The cap will determine what will the strokes’ tips look like, the circular one was chosen for our flower-to-be. In the stroke options, set the Trim Options to Synced.

Next we'll make the leaves.
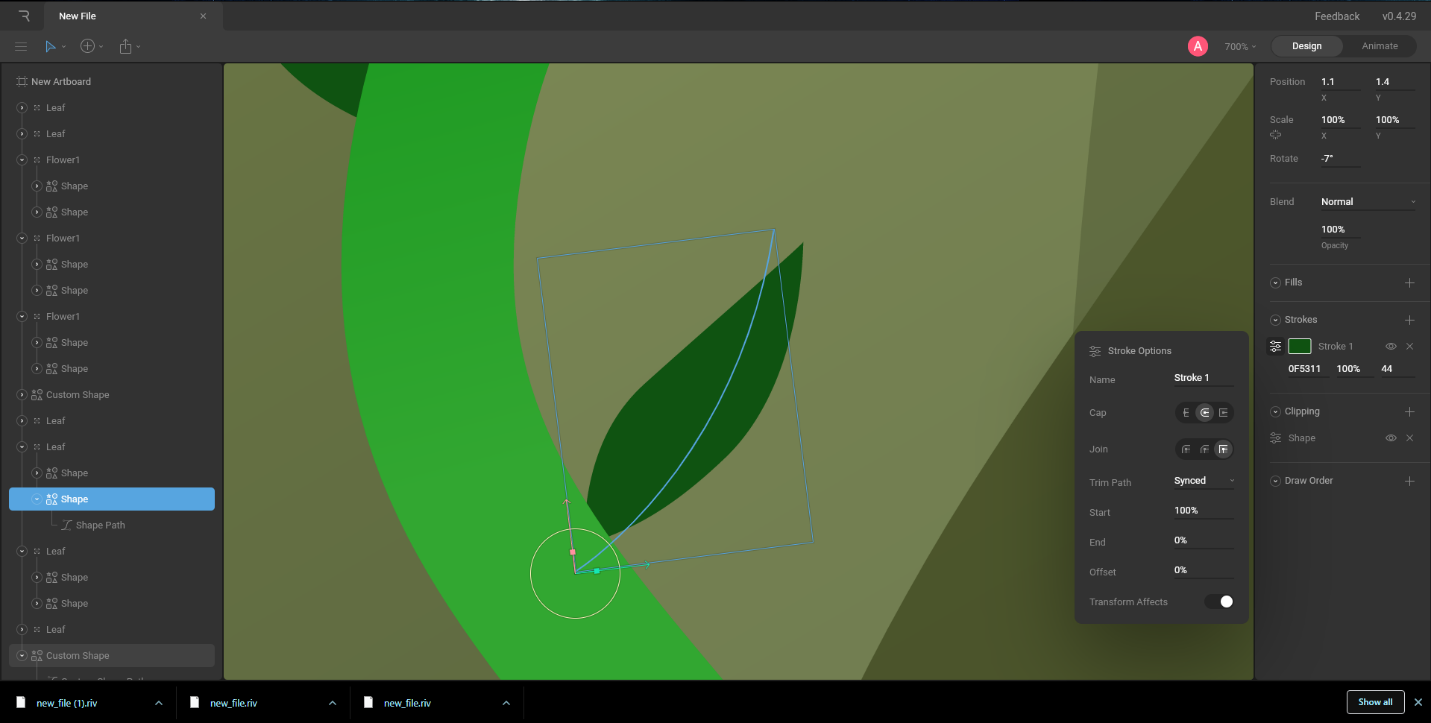
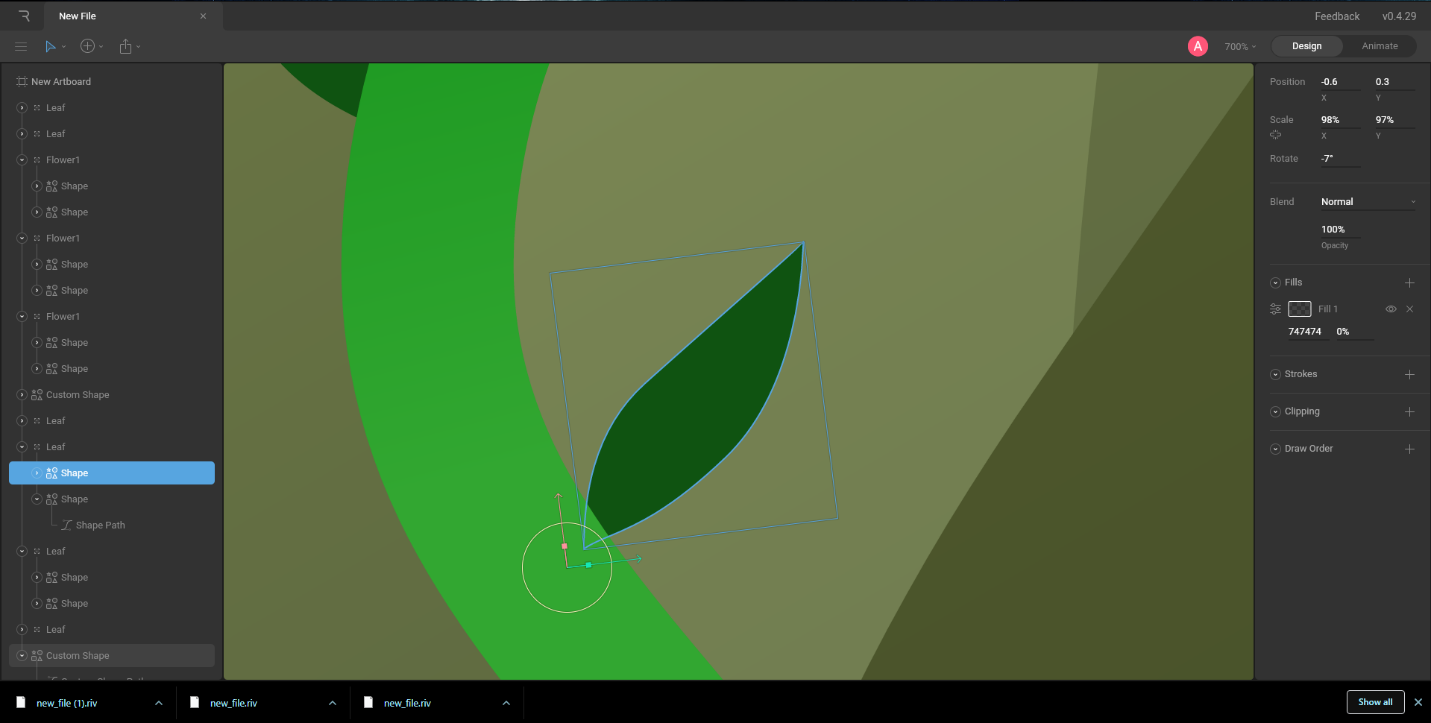
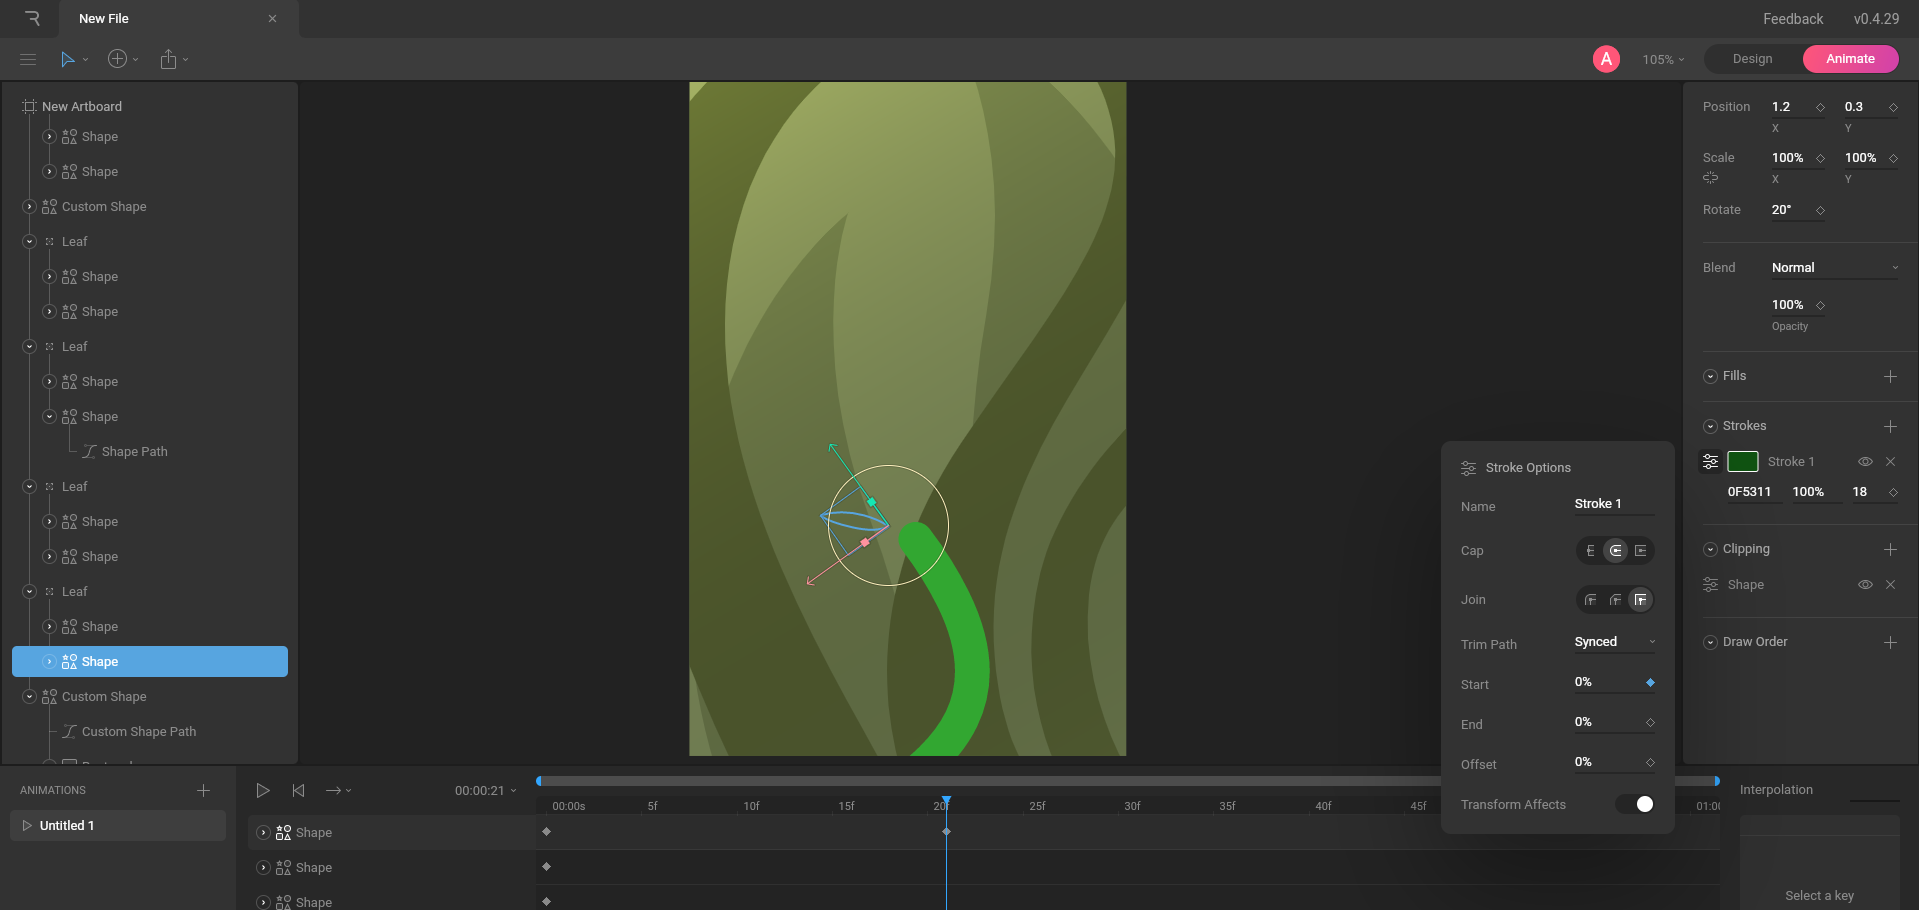
To create a sprouting leaf by using the Trim Path options, we will first create a leaf shape with the Pen Tool. Next, we’ll make a stroke, setting the stoke itself to be quite big, and then set the Trim Path option to Synced, leaving everything for now as it is. Next, while the newly made stroke is still selected, hit the + in the clipping options to the right and select the leaf. Now, when we start animating, the stroke will remain within the boundaries of the leaf shape we just made.
We can now create a new group for this leaf, to make everything a bit more organised. Simply click on Create Tools > Group (or G on your keyboard) and click on the leaf and afterwards, drag and drop the leaf shape and the stroke into the group in the hierarchy on the left.
To create the rest of the flower, simply copy and paste the leaf we just made on various places on the vine. The petals are also pasted leaves, just recoloured and with different scales.
Onto animating!
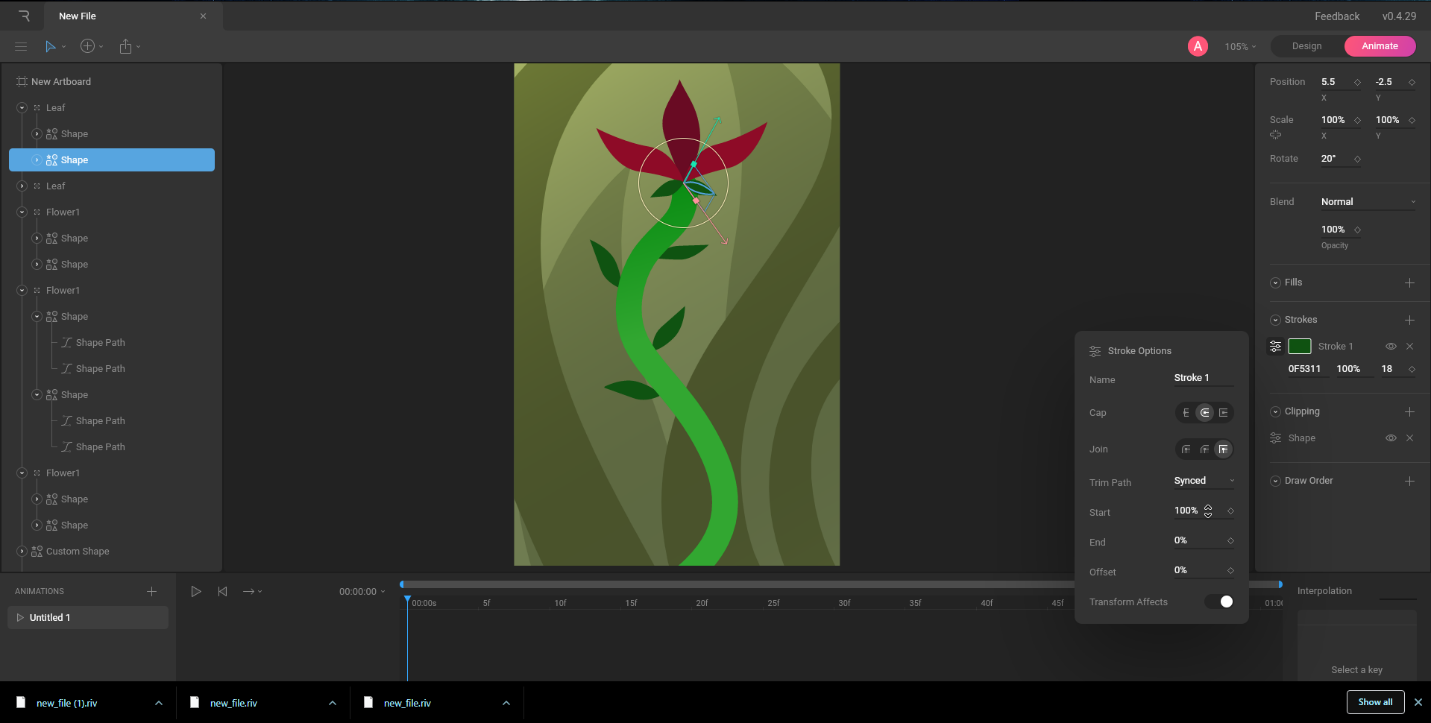
To make our flower sprout, let’s start with the stem. Select it and keep the Stroke Options visible. On frame 1, in Trim Path options, set the Start to 0 and a few frames later, set the Start to 100. When played back, you’ll see that our stroke is being drawn again, so to speak.
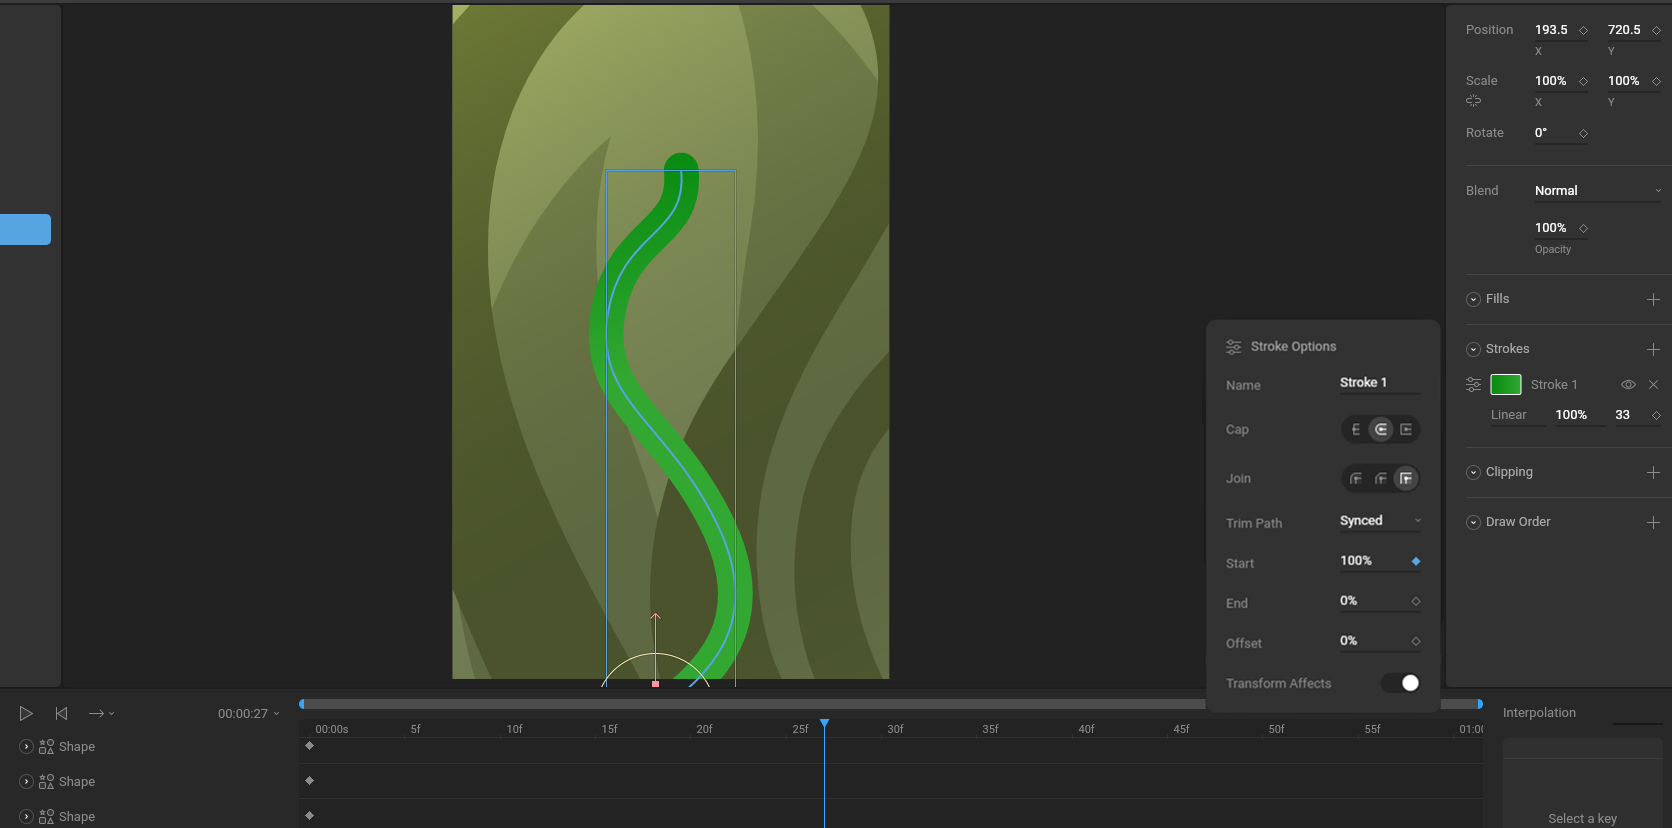
Tip: To make it bounce a little bit as it’s crawling upwards, play around with the keyframe interpolation. Setting it to Cubic will create handles which can be dragged to customize the curve.
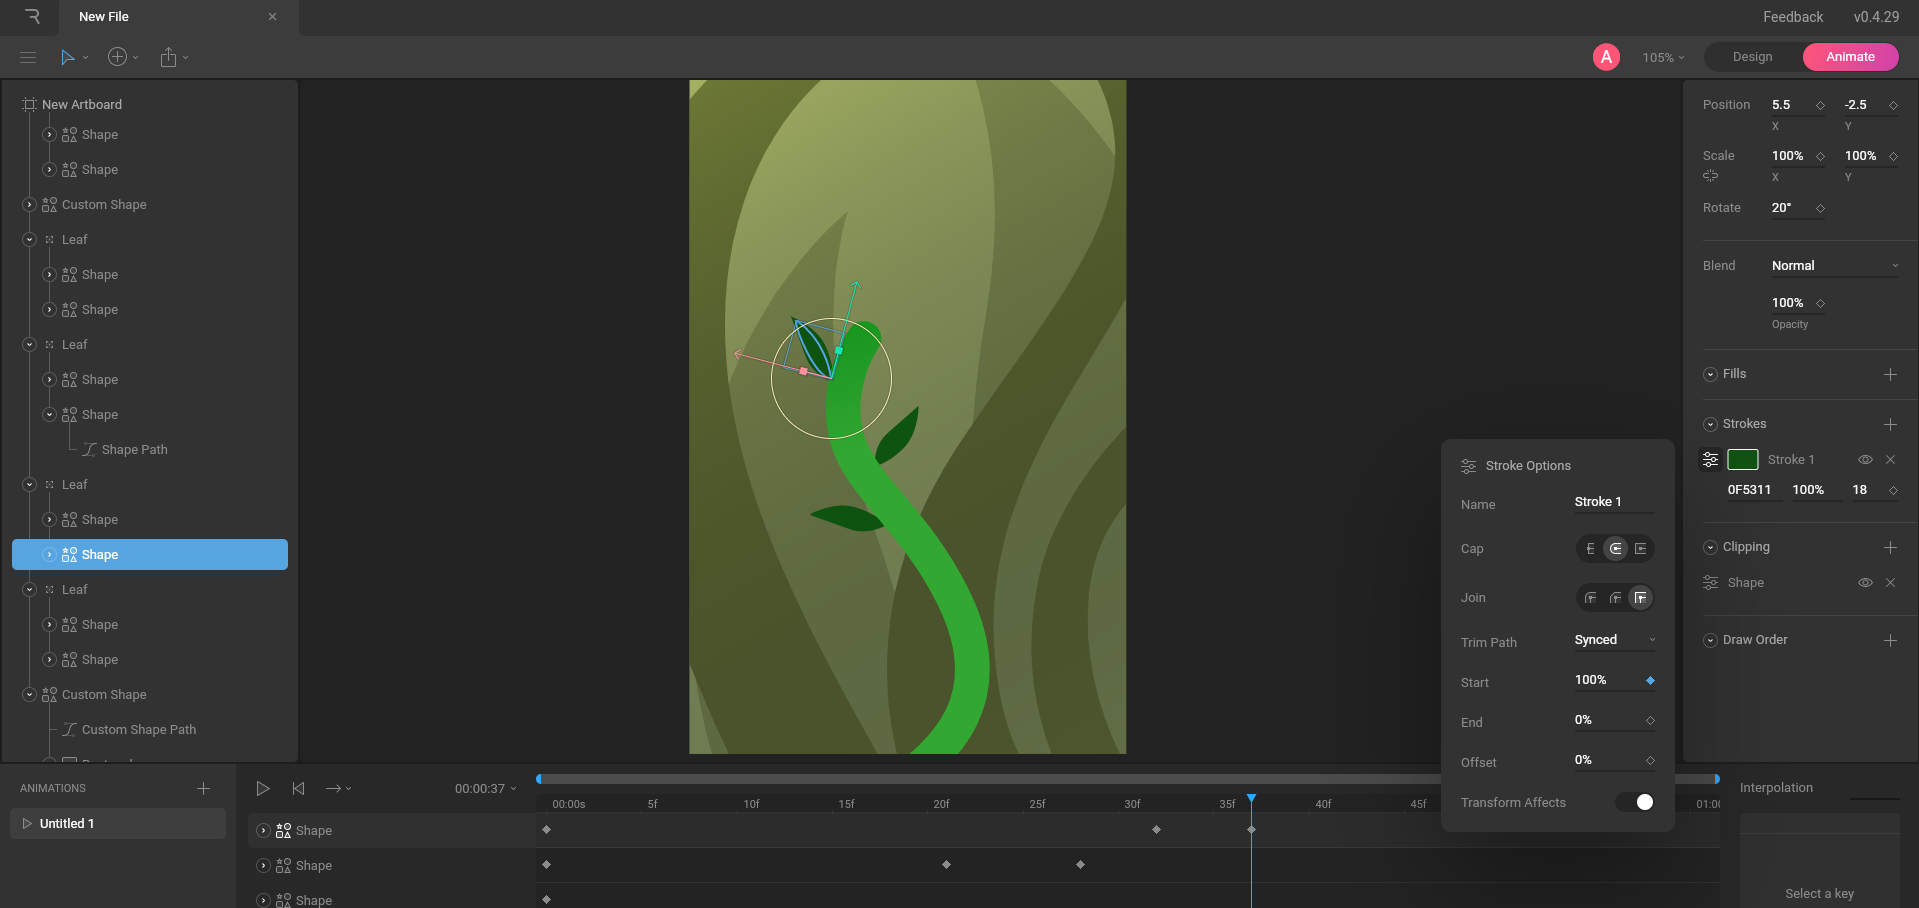
We will now repeat the same process for all the leaves, and the petals. To manipulate the Trim Path options within our leaves, select the Stroke within the Leaf Group and set the Start to 0 before the stem reaches the desired height.
To demonstrate another cool feature in Trim Path, let’s create another path with a thinner stroke.
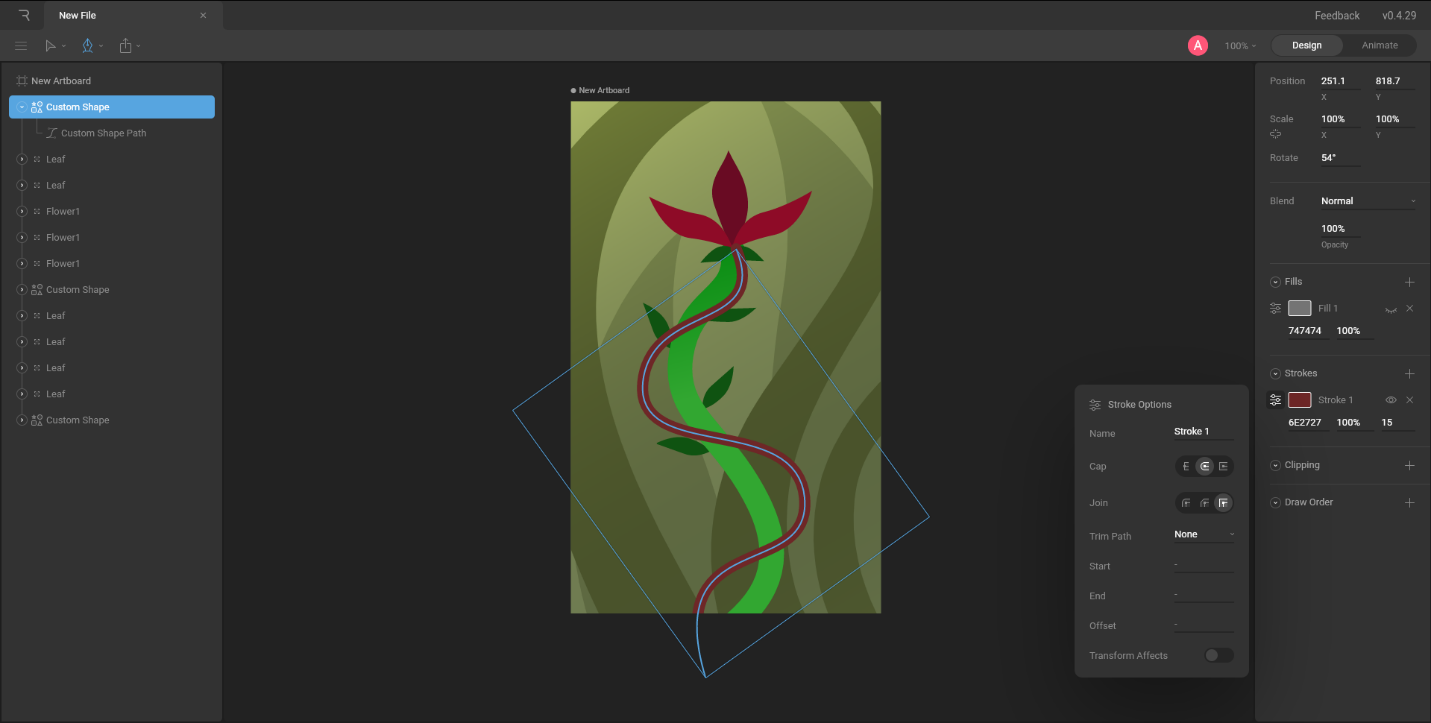
Now let’s take a look at the Stroke Options. The trim path should be set to Sequential while the Start should be on 100%, and end on 99%. By changing the start and End values, we change the start of end points of our path. In our case, we created a small line.
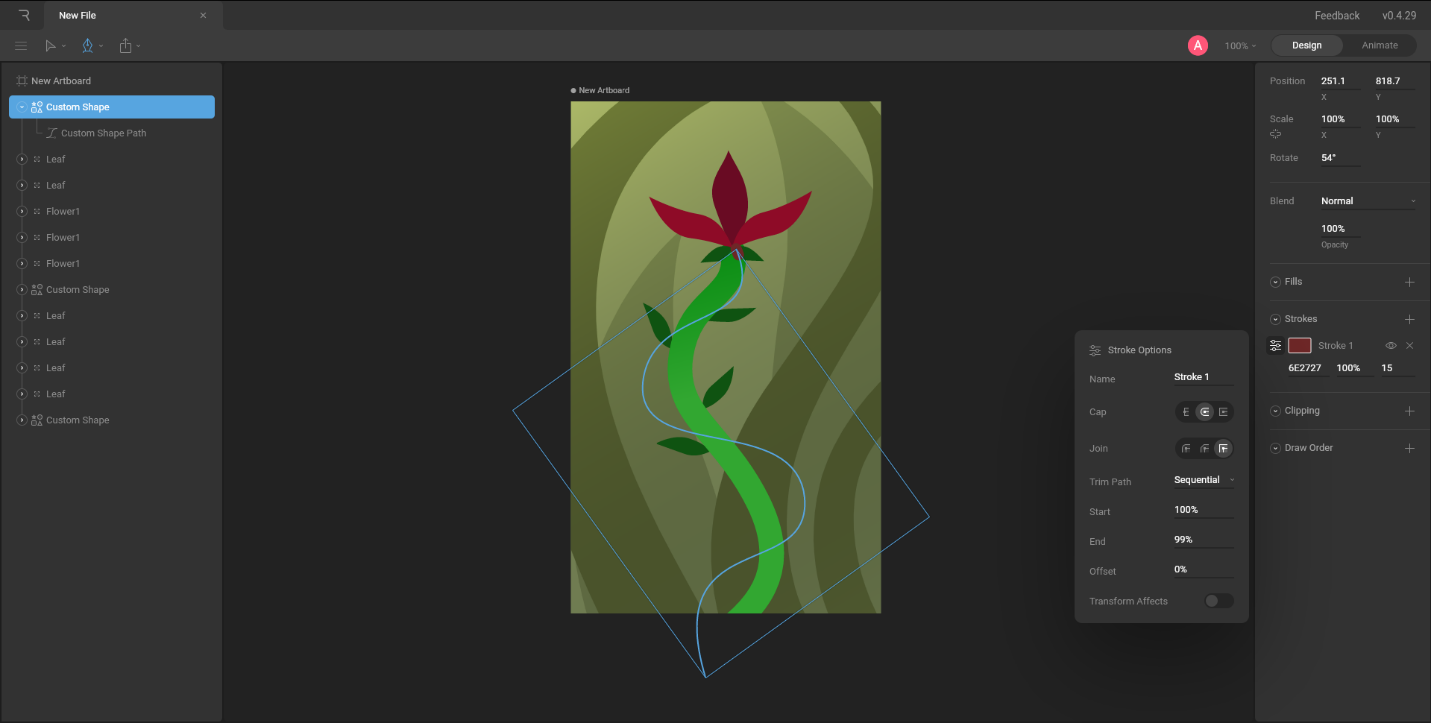
By changing the Offset value, we will change the position of our trimmed path.

Tip: if you're experiencing flickers, try lowering the opacity just before the petal starts falling down, and putting it back to 100
We’ve made a little flower sprout and a petal fall off. Until the next tutorial!