Animating Guide
Introduction
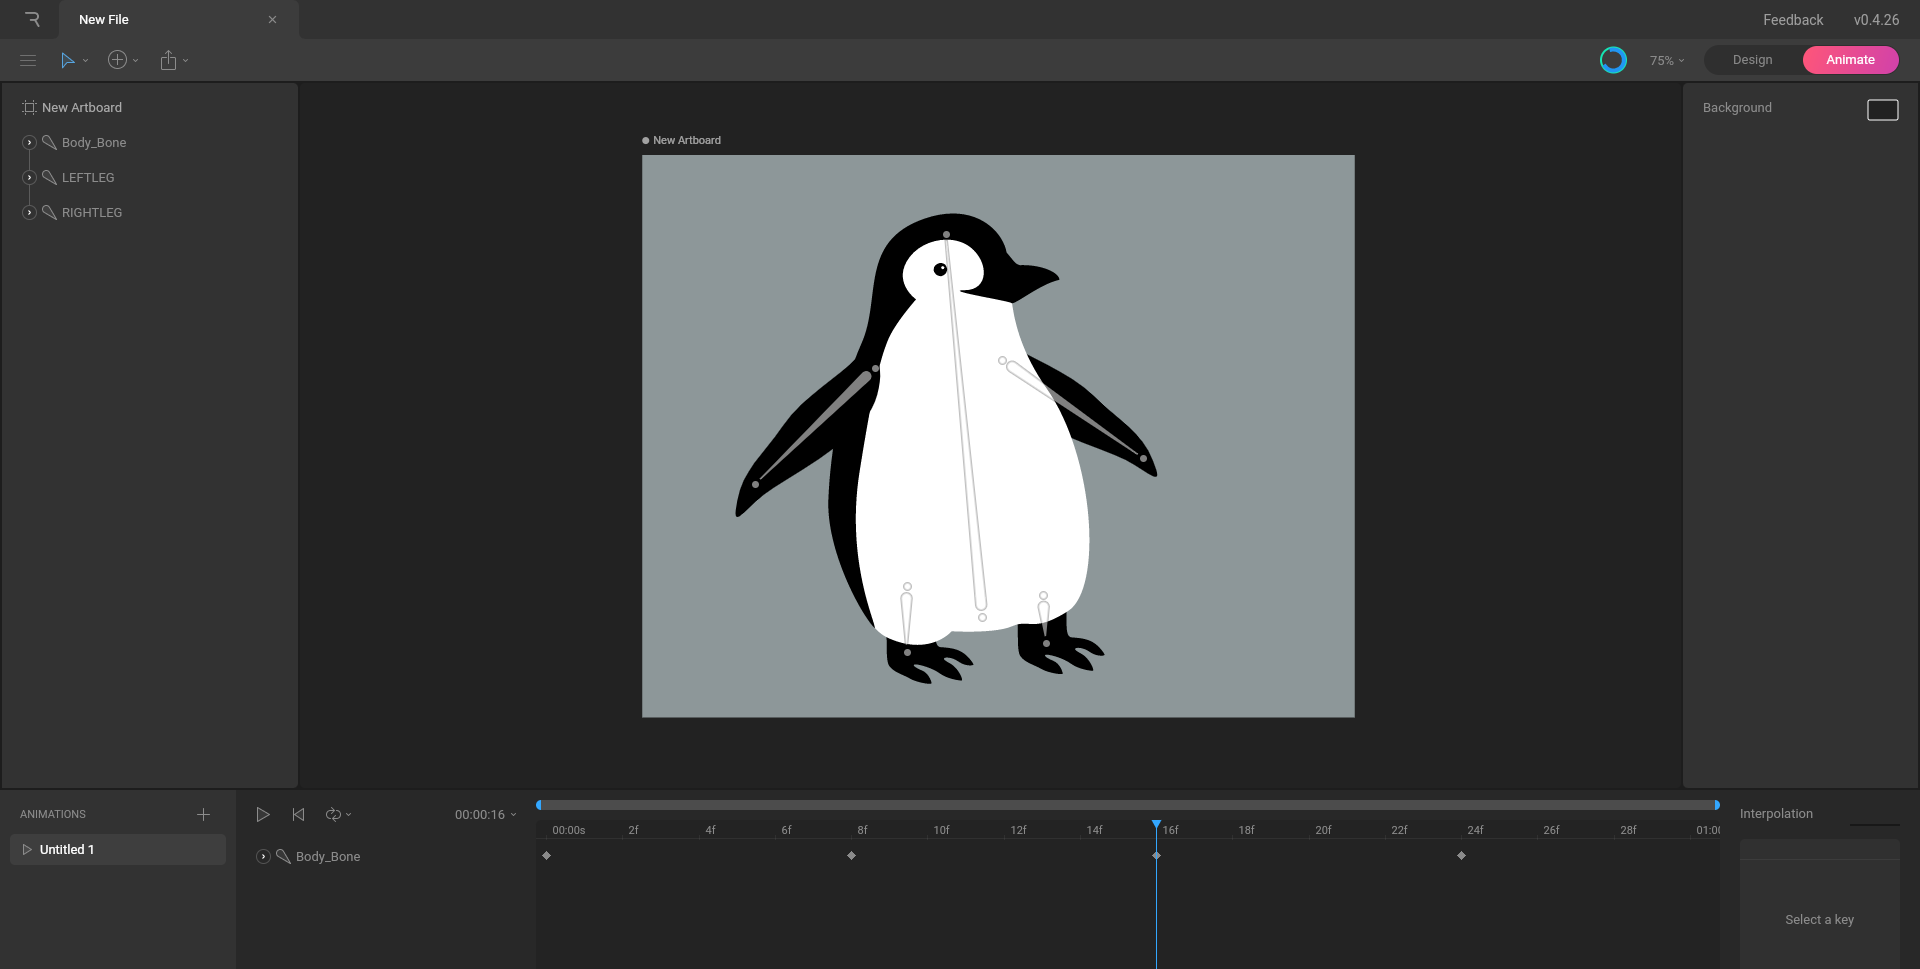
We can now move onto part three - animating. We can now switch to the Animation mode in the upper right corner of our workspace.
The first thing we should pay attention to is the framerate. Ny default, Rive will set a 60 fps (frames per second) framerate. If you’d like to change this setting, just click on the timer in the timeline and change the number in the Snap keys option.
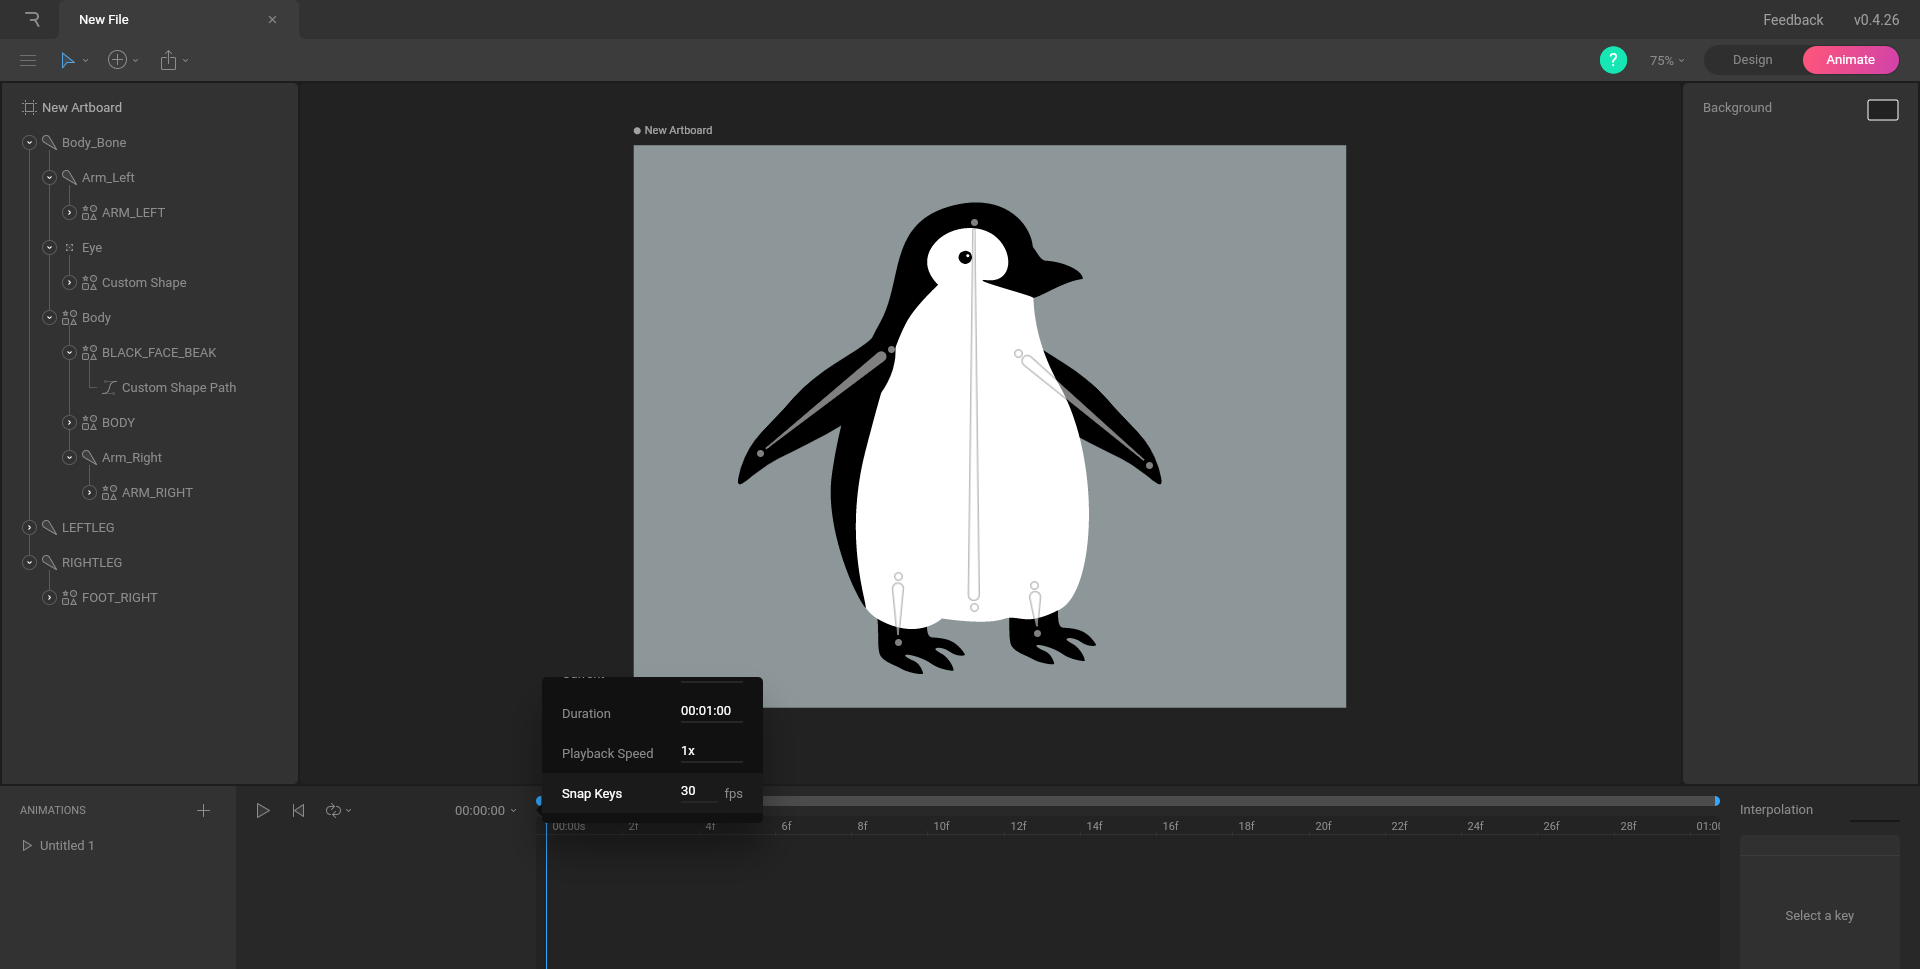
Typically, one should opt for the following framerates: 12 fps, 24 fps, 25 fps, (29.9) 30 fps, 60 fps. What you choose depends on what you are animating for, anything from 12-30 is commonly used for cartoons, animations, movies, and TV shows, 12 fps - used to be used by Disney, back in the early days. They would set up a 24 fps workspace but used a “two-by-twos” method, where one drawing would last 2 frames. 60 (and up) fps is a common framerate for slow-motion videos and videogames, where a lot of things are happening on the screen. (probably not so) Fun fact: some sports events are recorded at higher framerates, so they can be slowed down to show replays without losing quality.
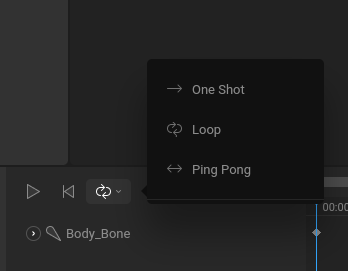
While we’re changing the framerate, we will also change the animation type. This penguin waddle will be looped, which means its animation should repeat seamlessly forever.
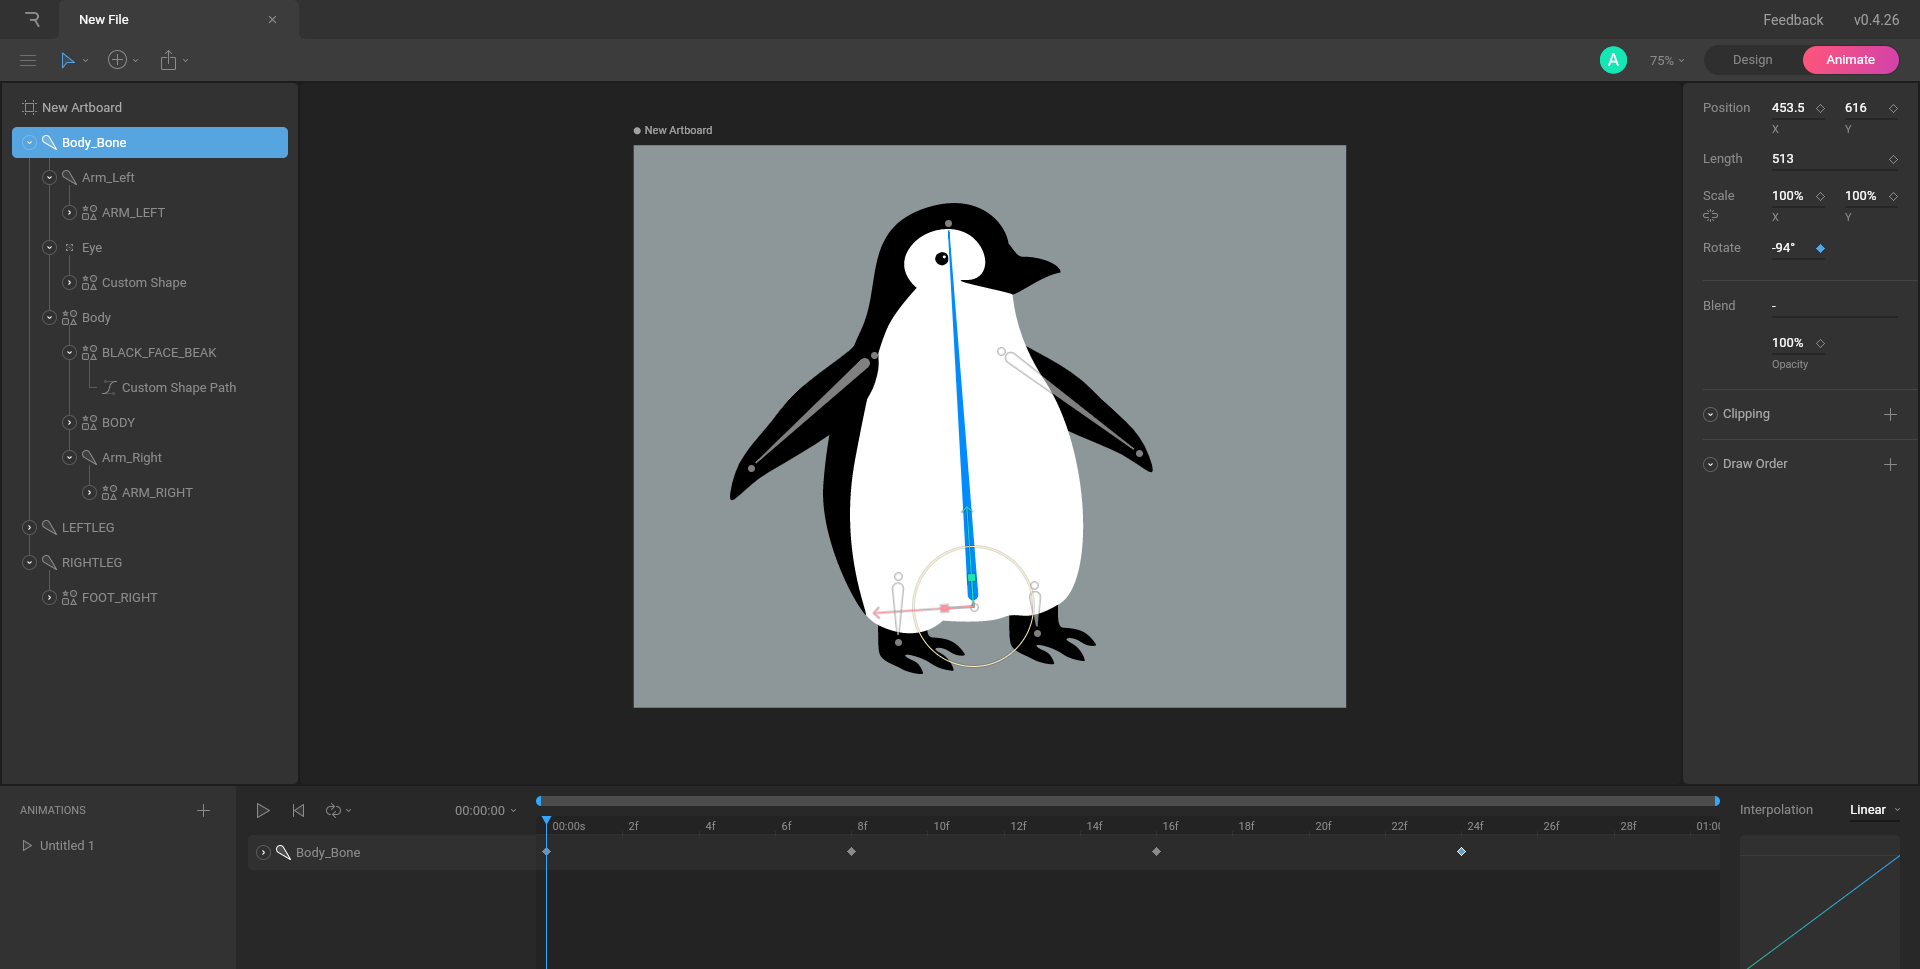
Rive will automatically create keyframes and bone layers every time a bone or artwork is moved. For our penguin, for our first frame, we will rotate the base body bone towards the left by using the Select Tool (keyboard shortcut V) and dragging the yellow circle.
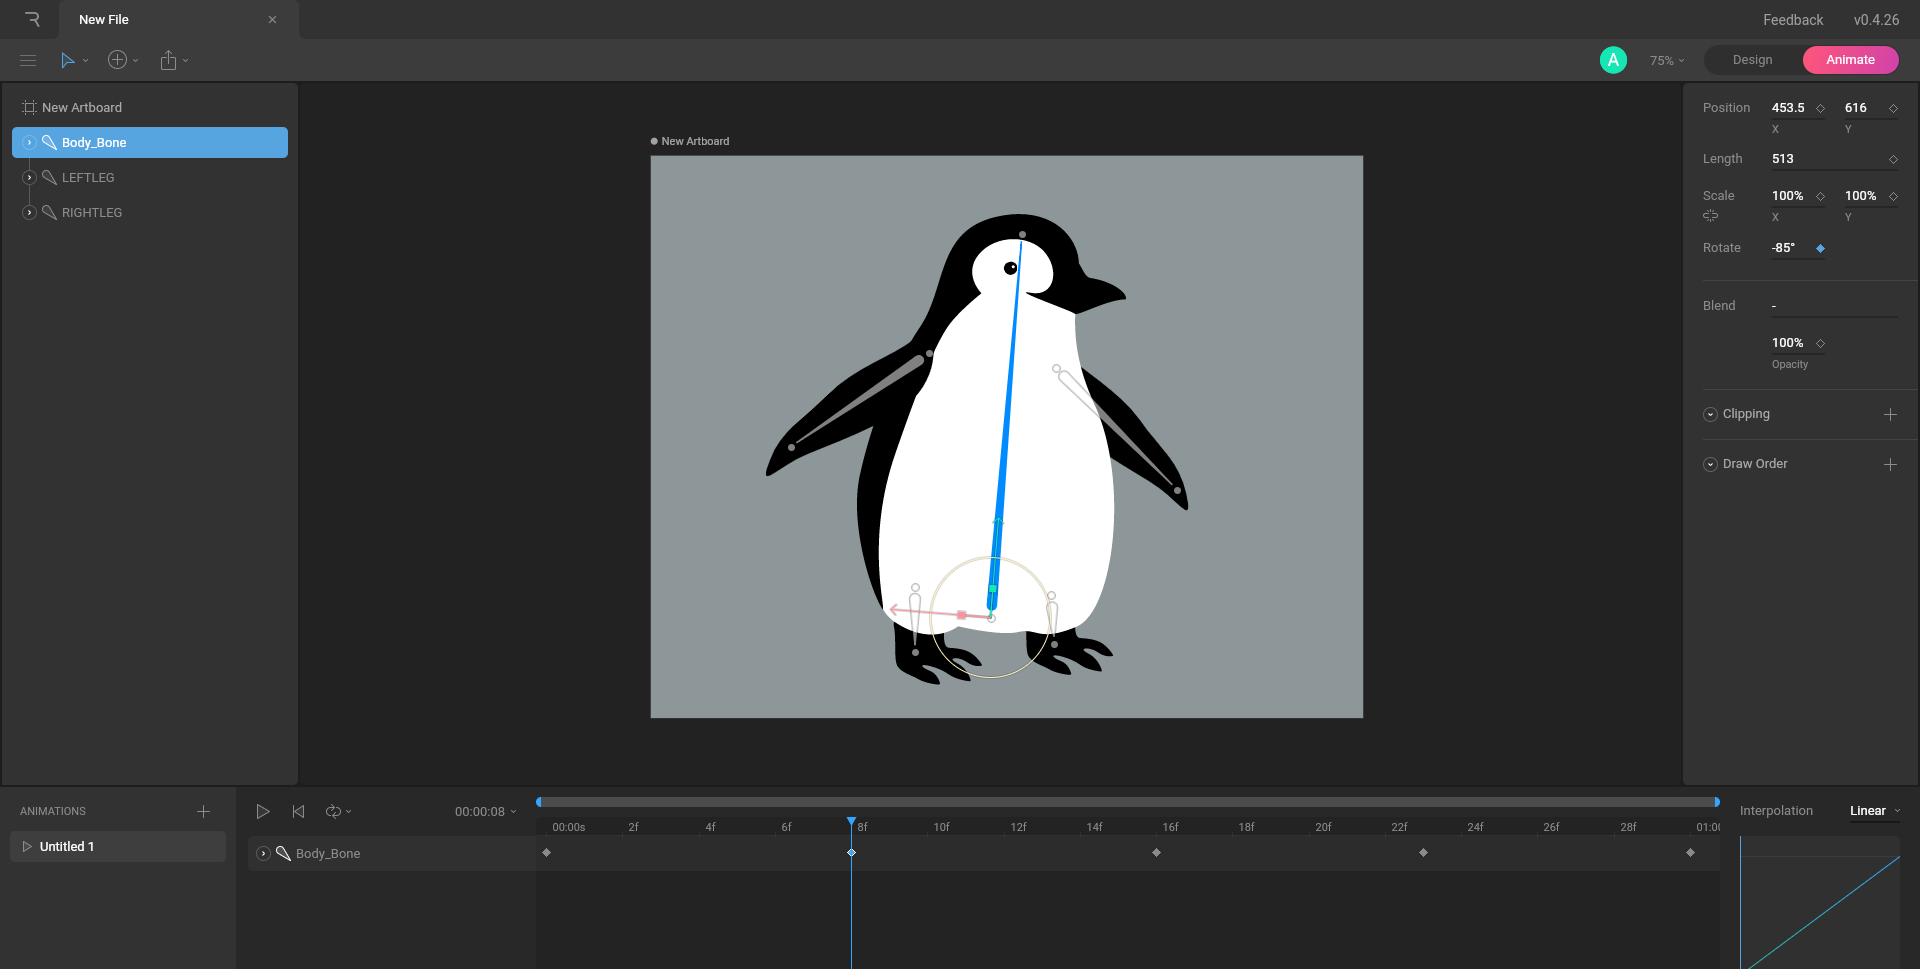
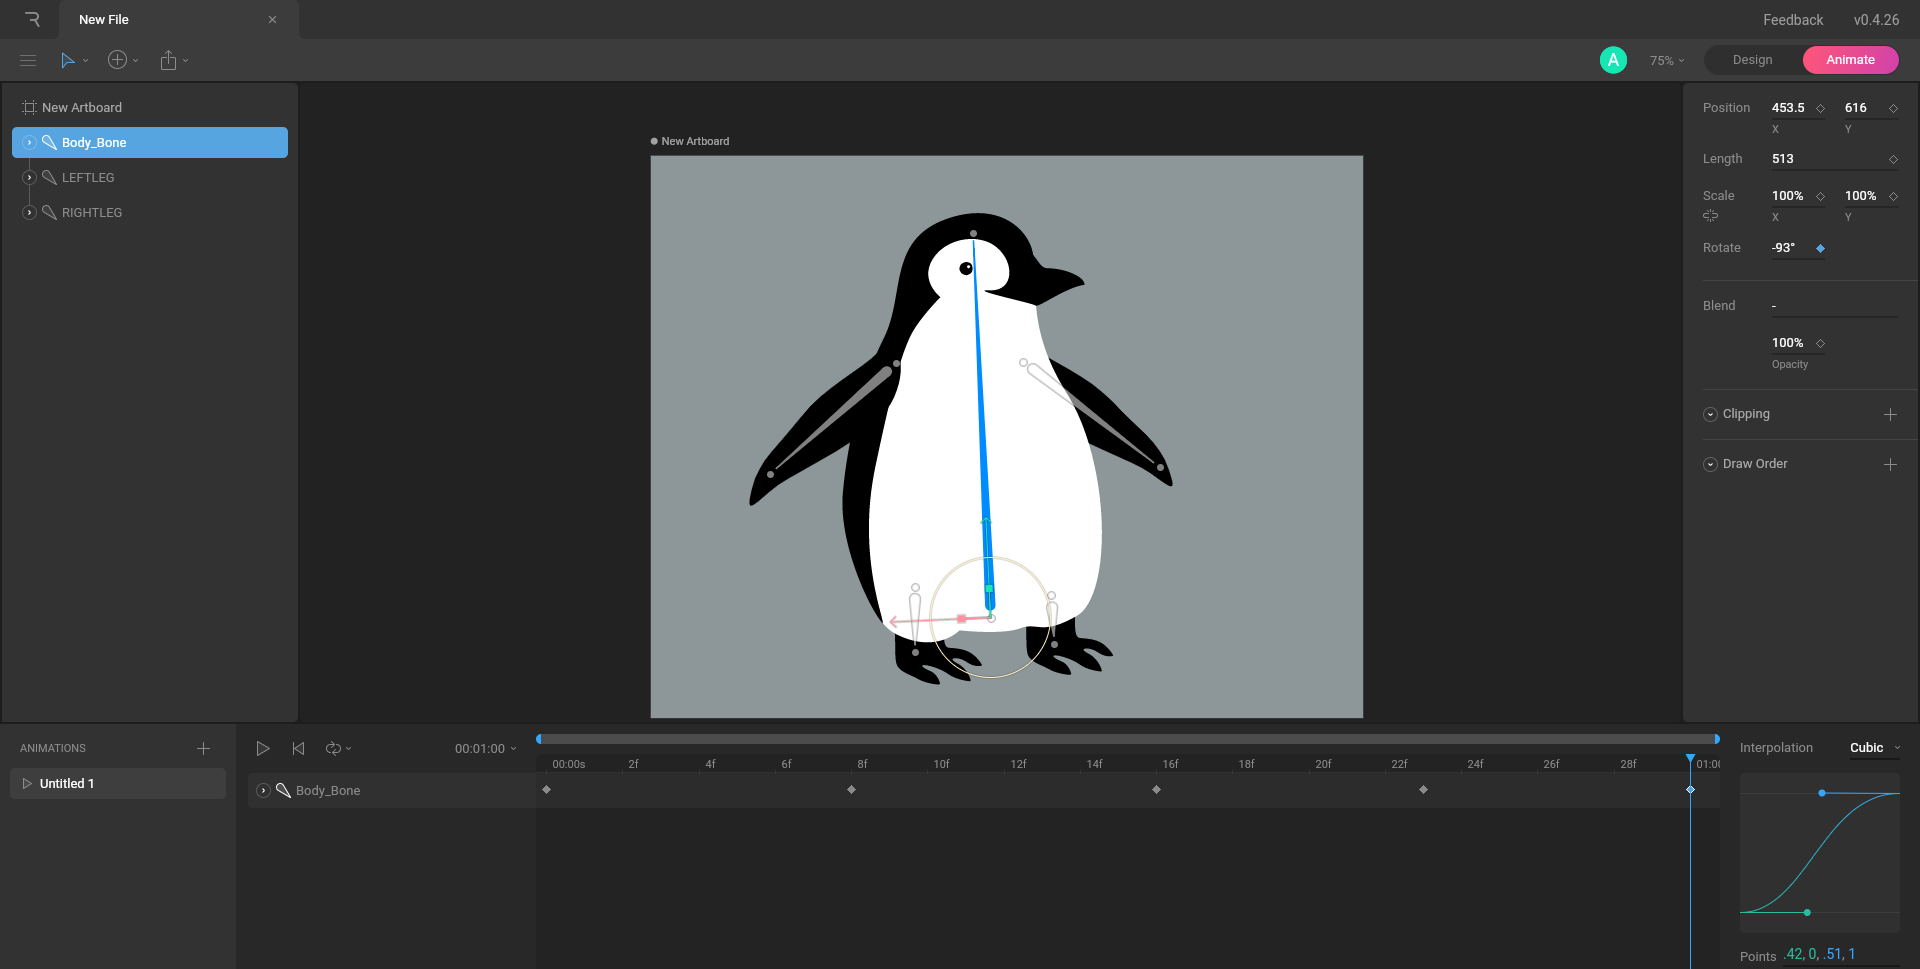
We can move our animation forward, to frame 8 with the Playhead, this time, we will rotate the penguin in the opposite direction.
Onwards to frame 16, keyframes can be easily copied and pasted into the timeframe by hitting CTRL+C and then CTRL+V. Make sure the Playhead is located where you want to paste your frame. This is a great way to save time, the first frame was pasted, and then the bone rotated just a little bit more towards the left.
Remember, every frame can be moved by just clicking and dragging the frame across the timeline.
For frame 23, the second keyframe was copied and the bone rotated just slightly to the right. And finally, for the last frame 30, the first keyframe was copied and rotated slightly towards the right. Replaying the animation is quite important (Keyboard Shortcut Space), we want to make sure that it loops perfectly. Tilting and adjusting the body in last keyframe is the key to achieving a nice loop.
We now have a very simple, looped waddle! In the next tutorial, we’ll start moving the legs and flippers.