Refining Animations
Our simple waddling animation is now ready to be refined by moving the penguin’s legs and by adding more details.
Something to remember while animating is the 12 principles of animation. We are going to add more anticipation and squish and bounce.
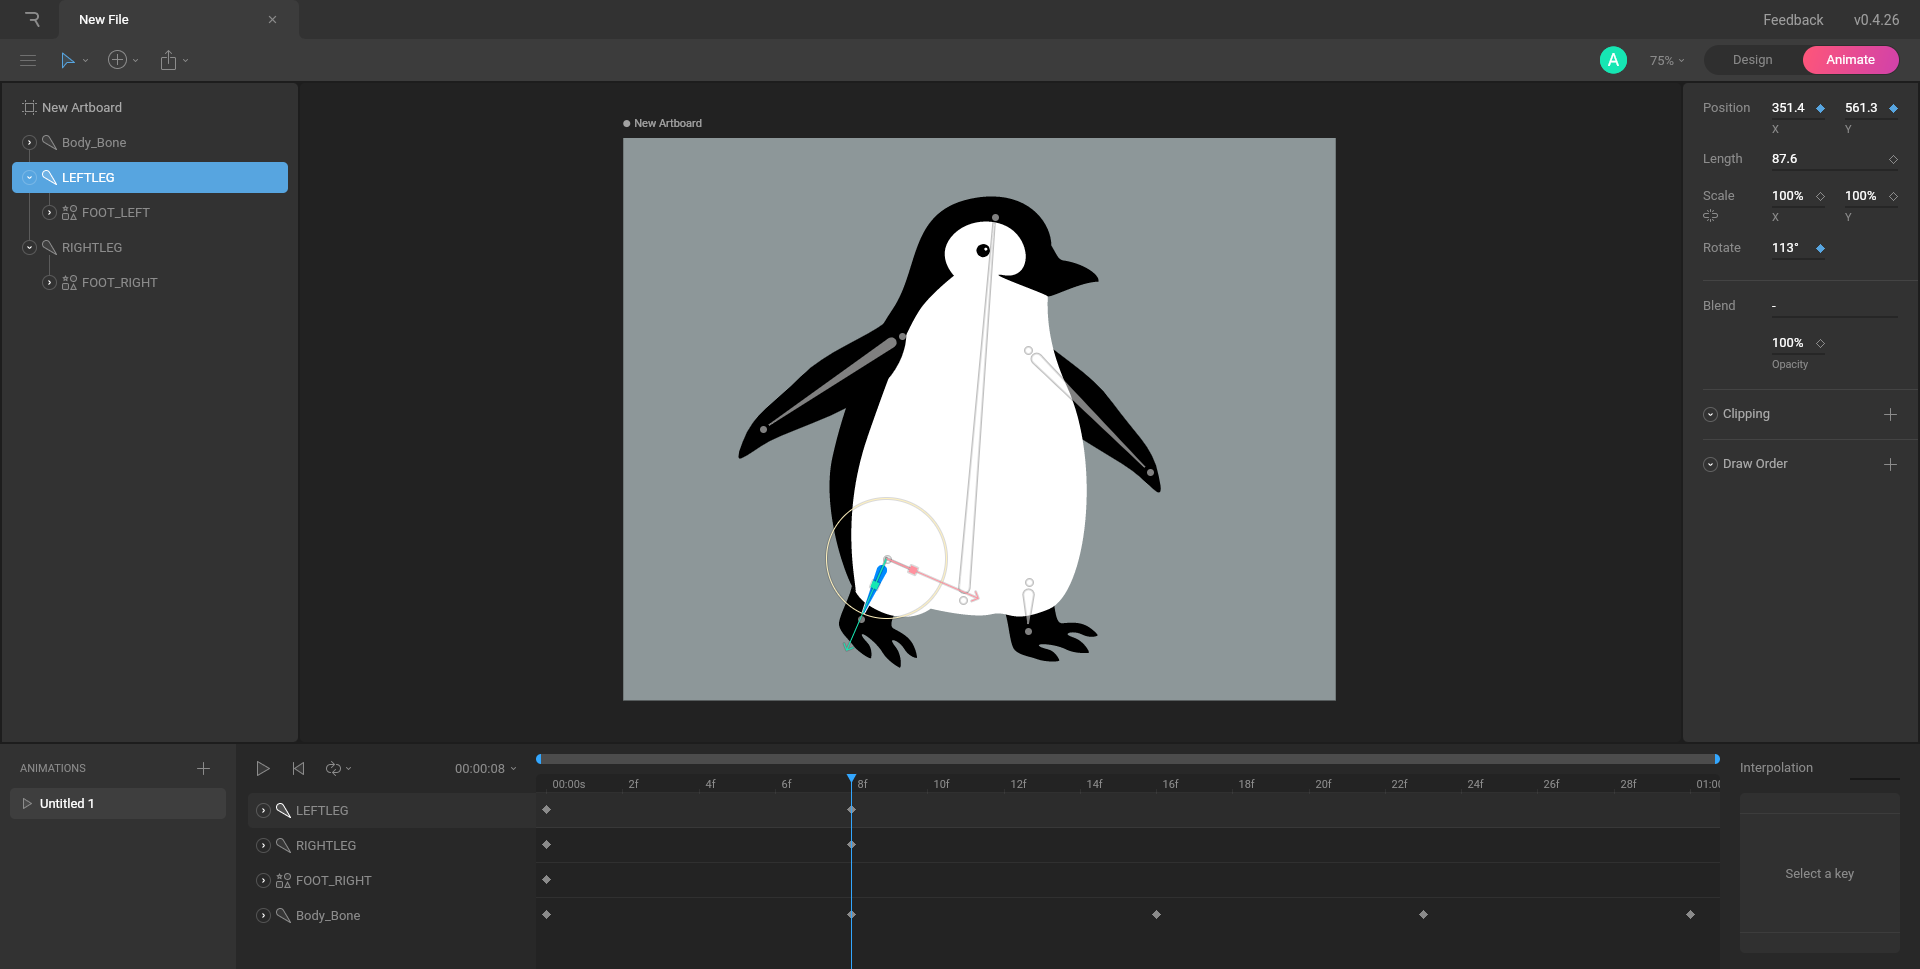
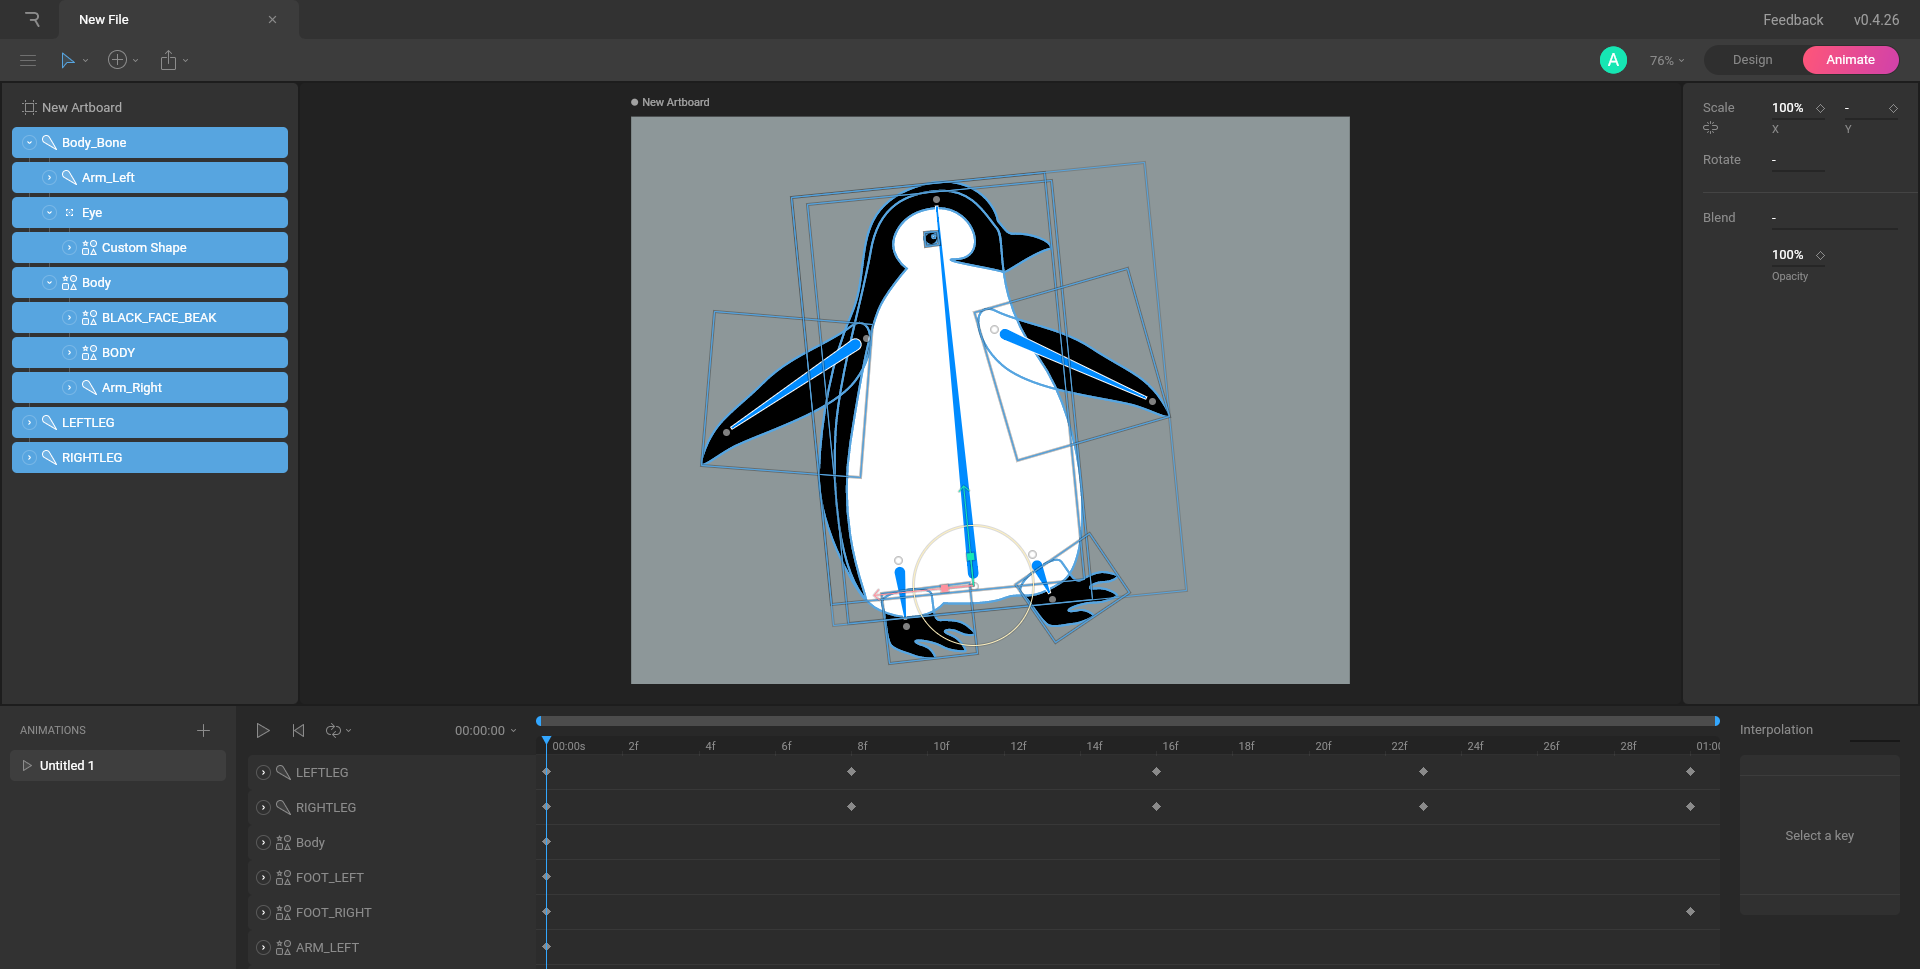
Starting with the legs which are currently not doing anything, but they should be following the rotation of the body.
The right leg needs to be lifted, as the penguin’s body is rotated to the left, then it has to be lowered, and so on...
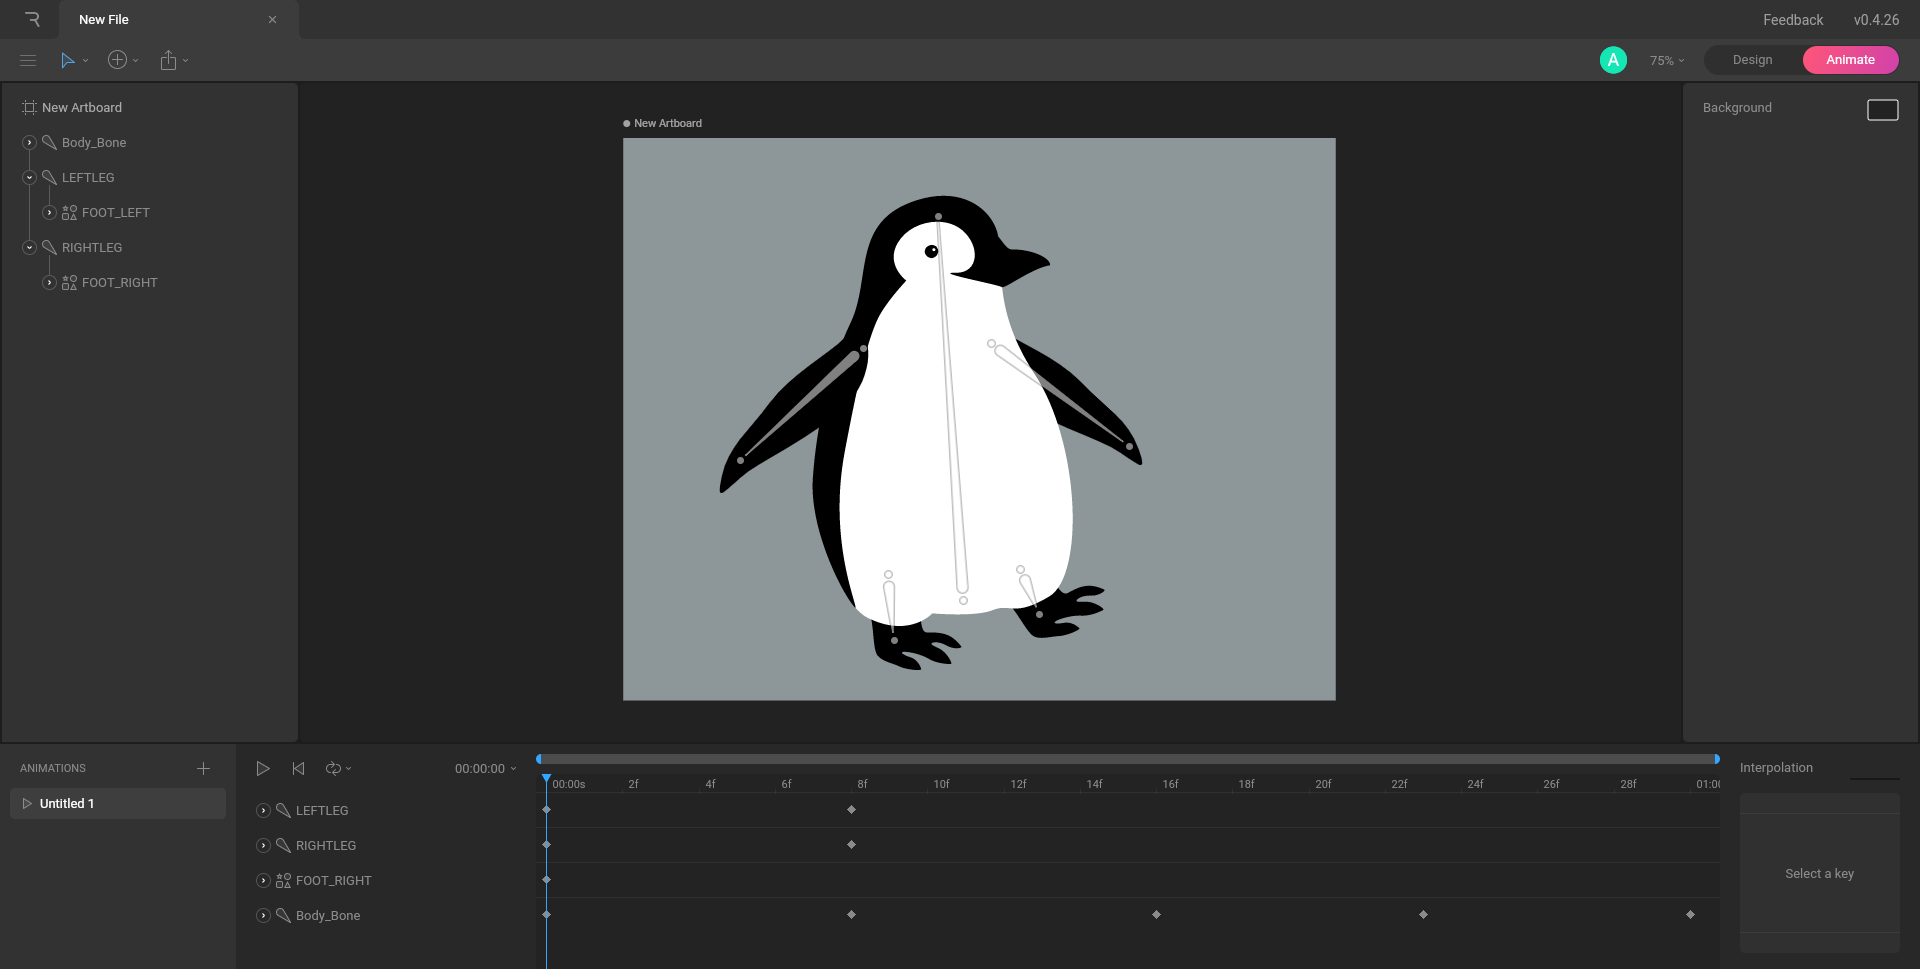
...and vice versa for the left leg. The keyframes for the leg bones and body should align for now.
For the flippers, let’s make the penguin extend them while it’s on one of its legs...
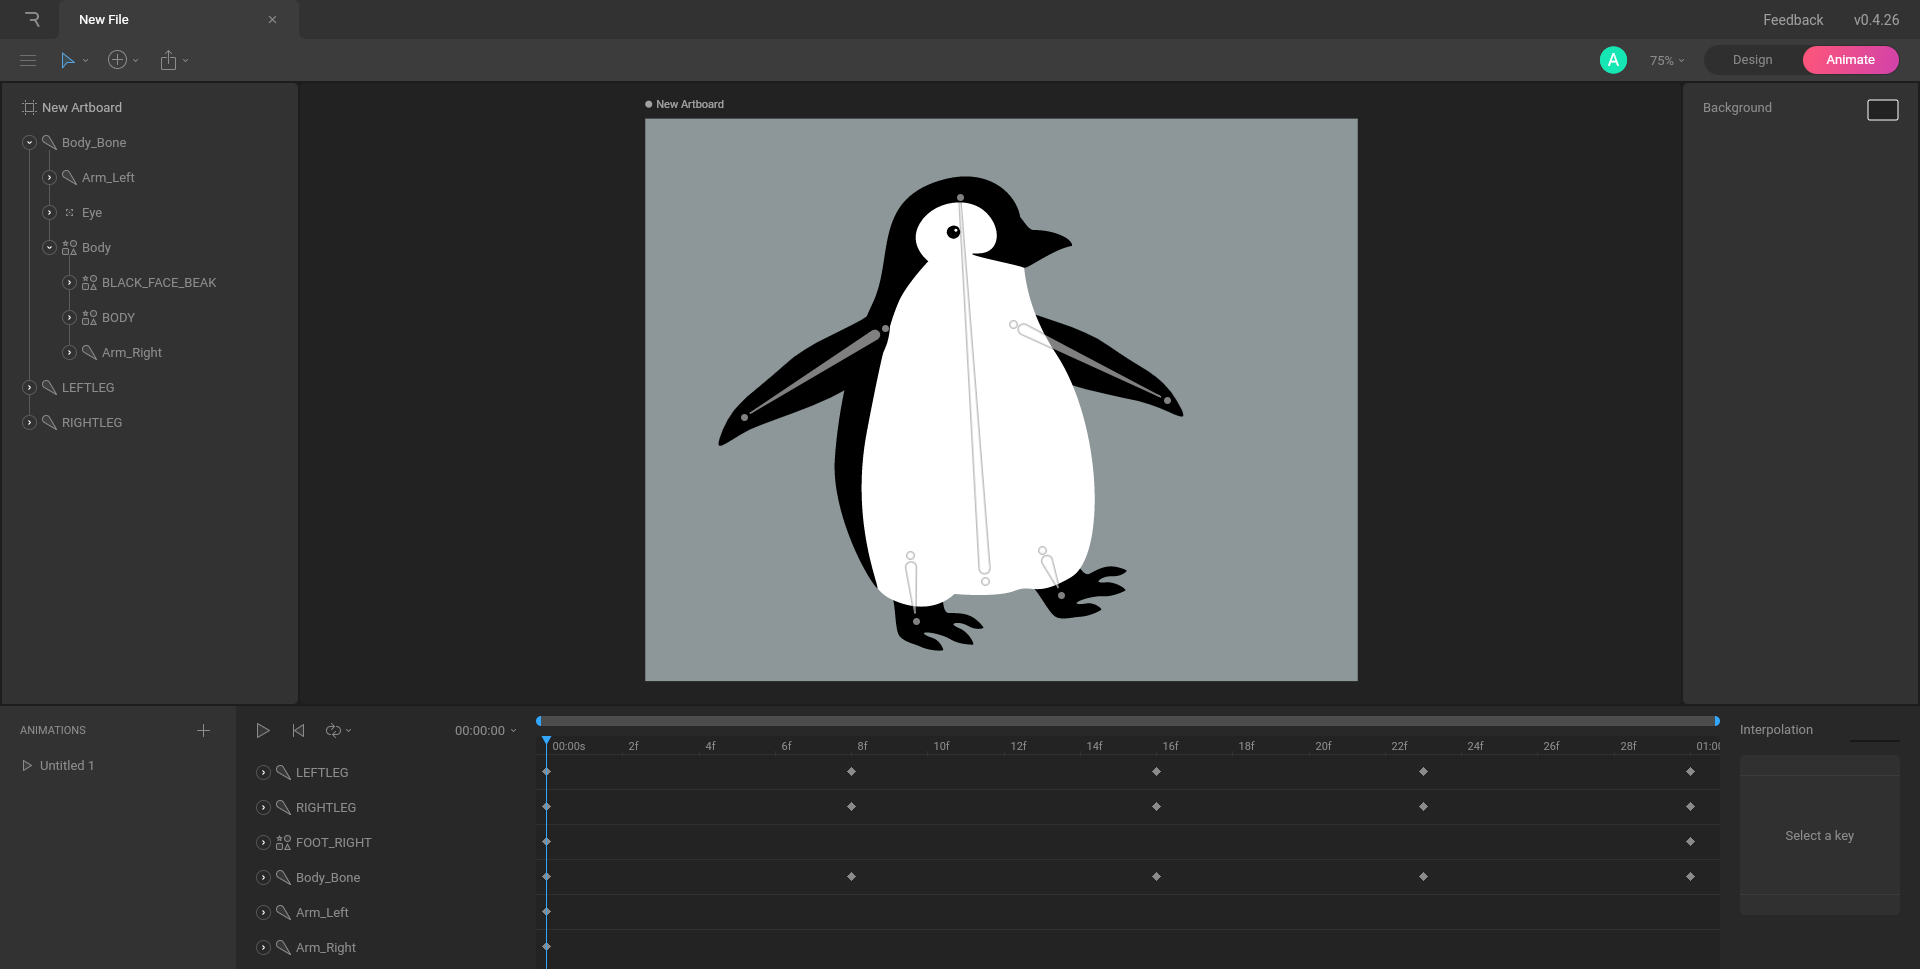
and bring them closer together while it’s in the air.

Several keyframes can be copied and pasted by holding Shift and selecting the desired keyframes. Multiple keyframes can be selected on the timeline from several Animation layers. If multiple keyframes are copied from the timeline (for instance the first and second keyframe), they will be pasted with the same amount of frames between them.

As with the body, adjusting the last frame is important to make a nice loop. At this point, we’ve made quite a few frames! We have a very awkward waddling animation now, but we are far from done. We’ve now made a good base and it’s time to start refining our penguin.
To add more weight to the waddle. To do this, we will select all the bones and artwork in our hierarchy and we’ll move our penguin. Once its legs hit the ground, the penguin should be lowered and tilted according to its rotation in the keyframe.

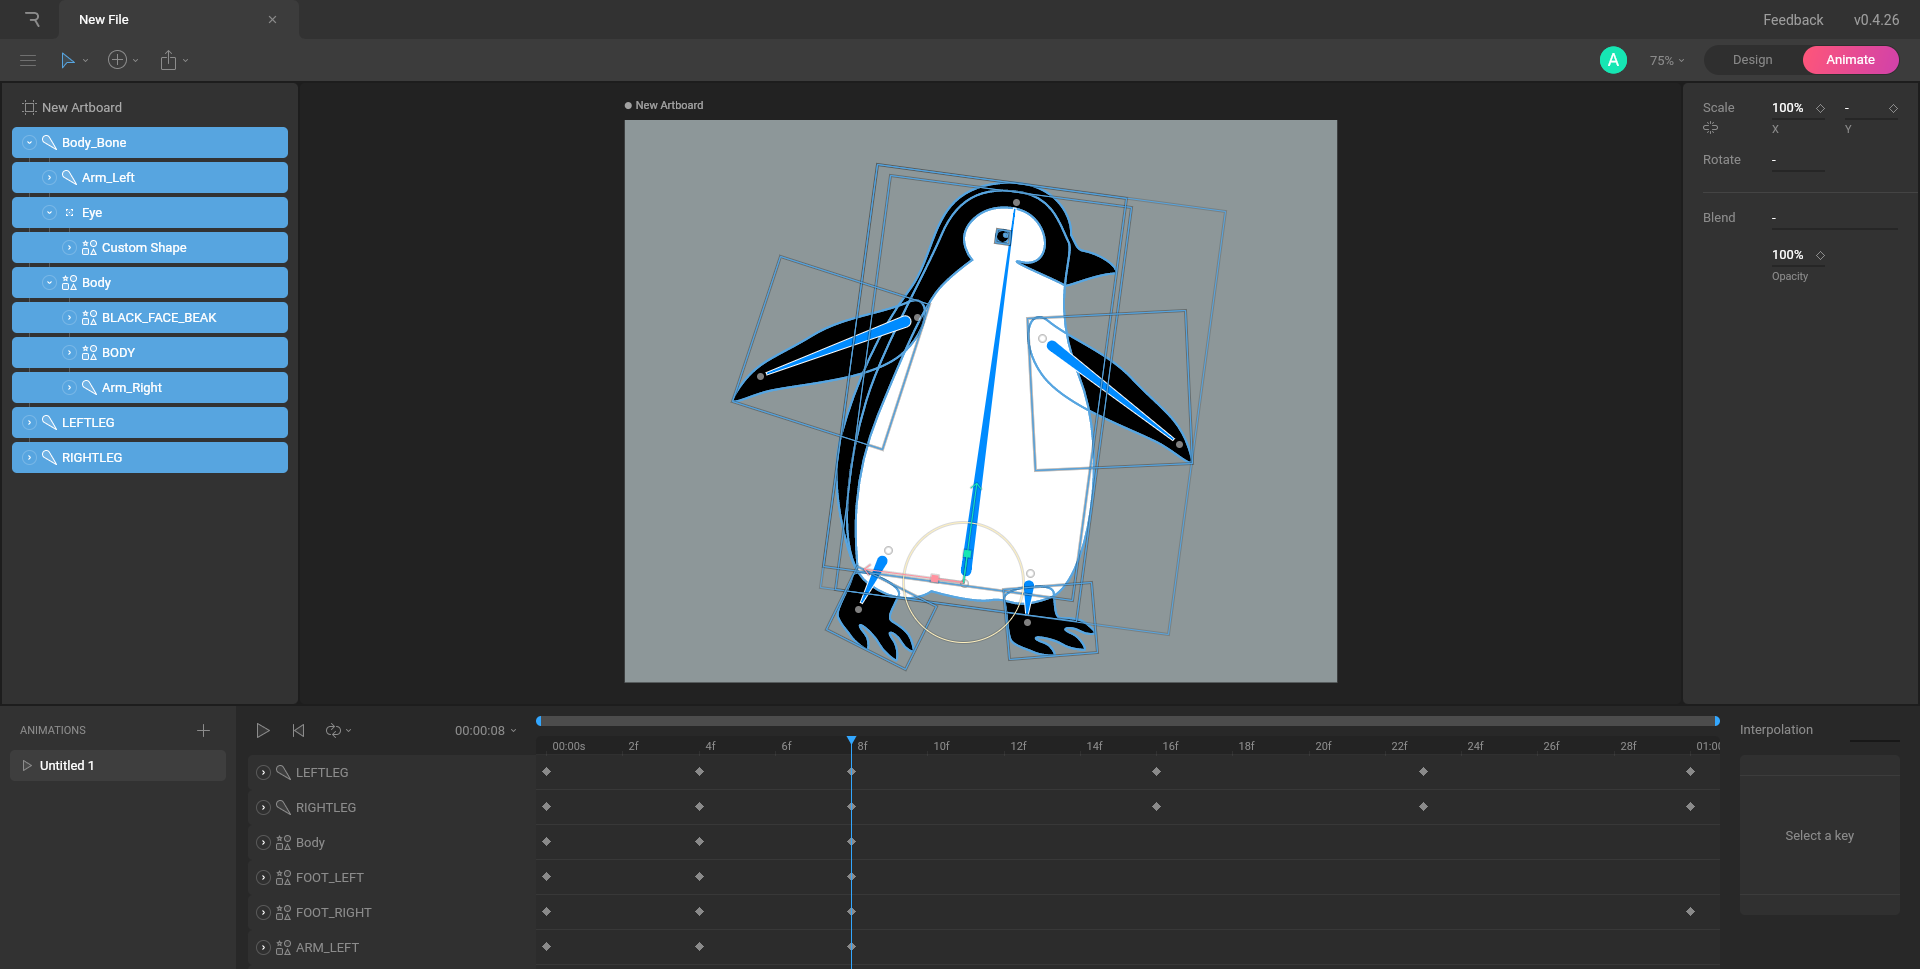
We can also set the frame interpolation to Cubic for all the frames, which will add to the animation a bit of "weight" between frames.