Create Your First Asset
Introduction
Let's get started making our first animation asset!
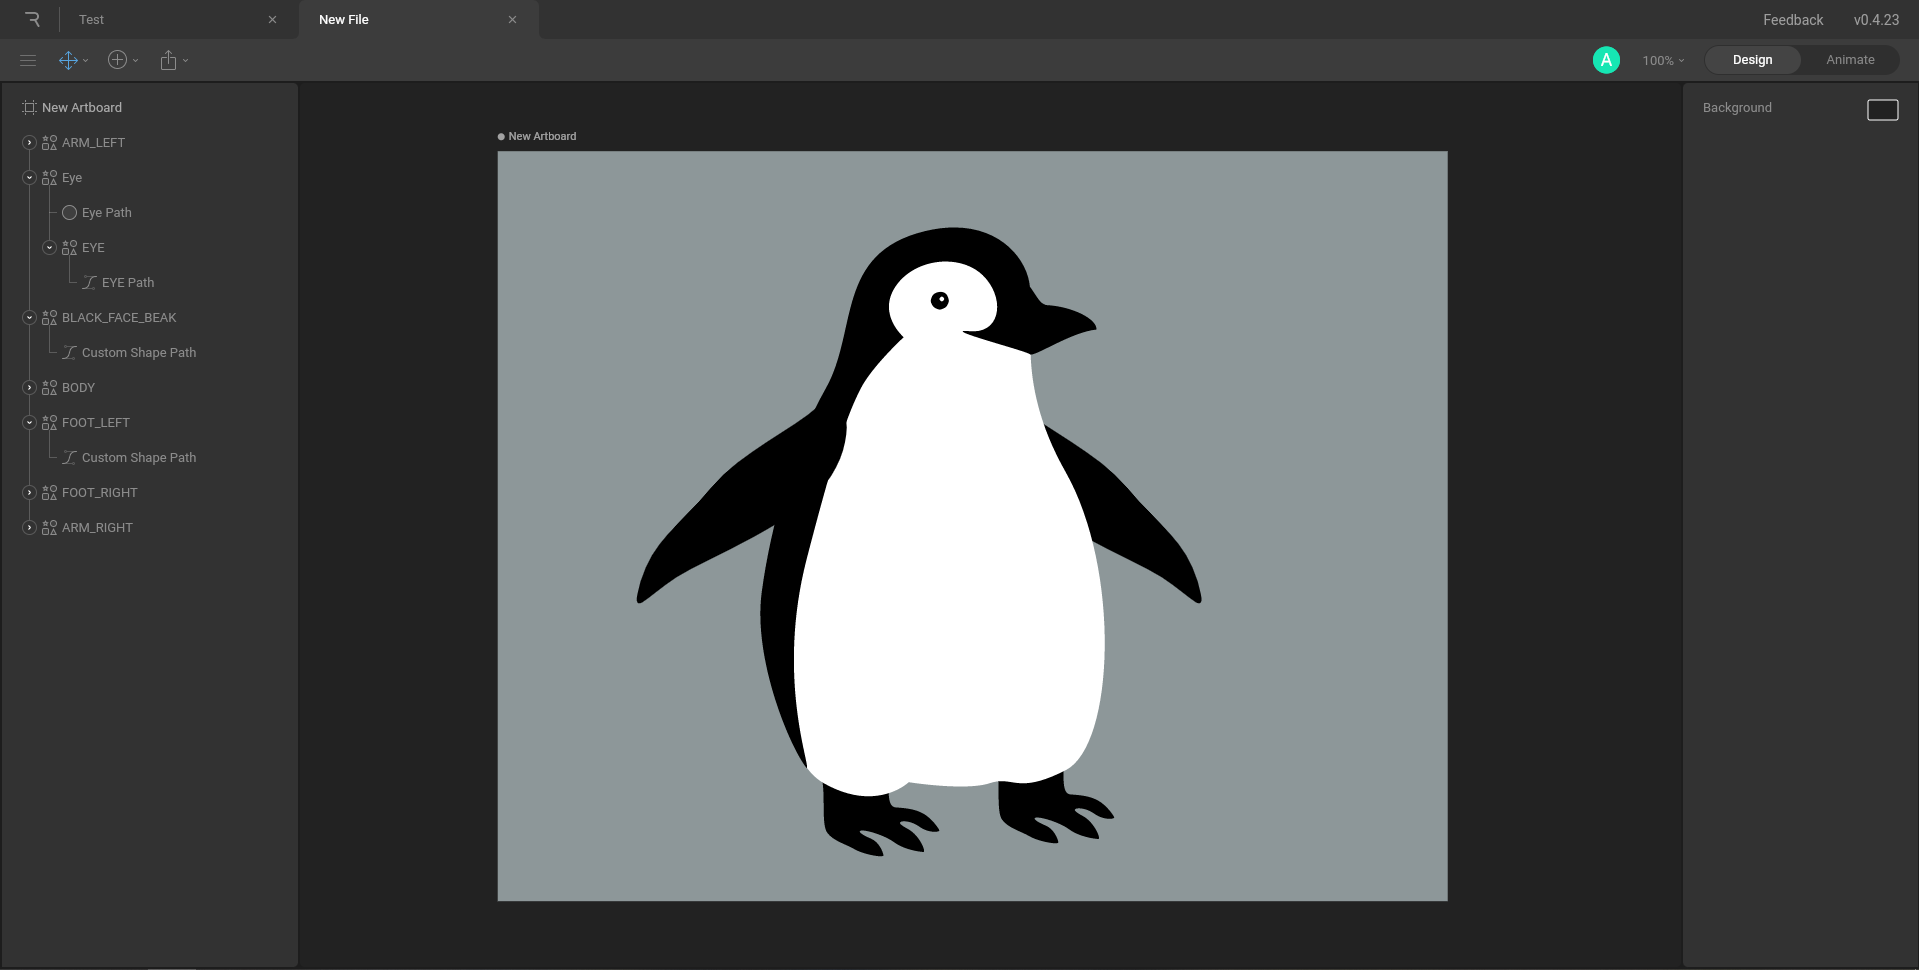
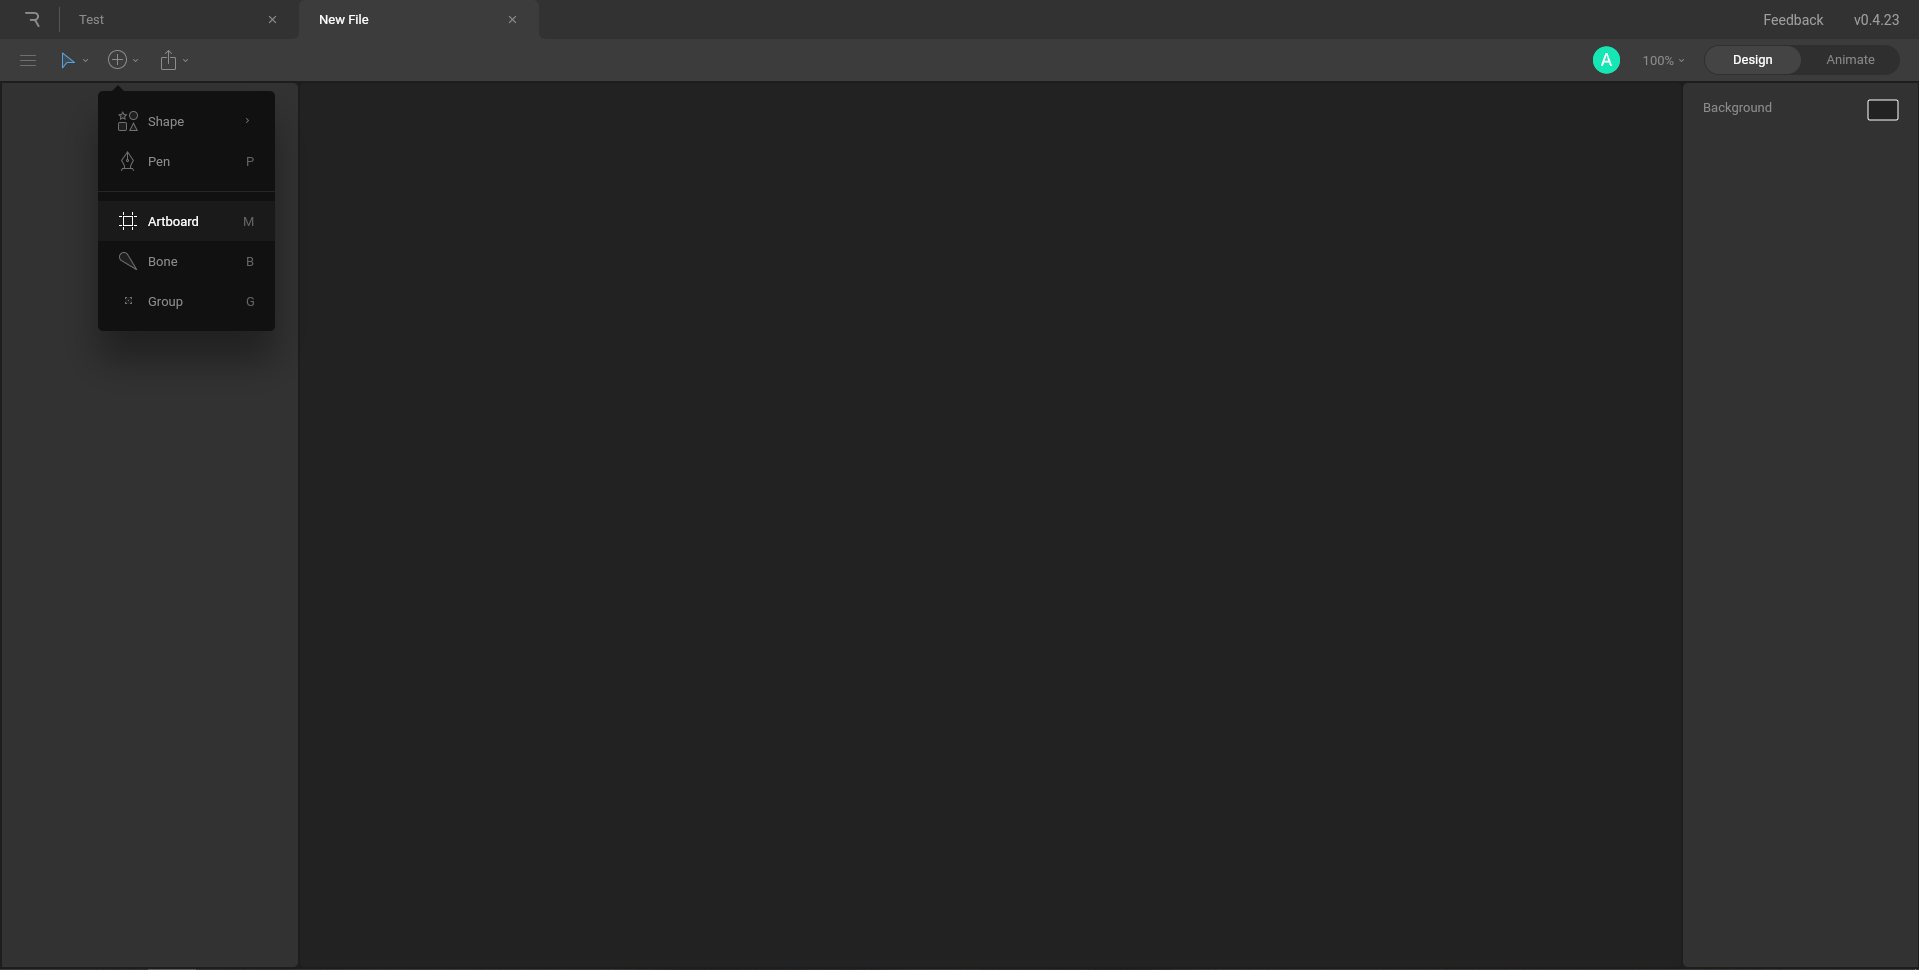
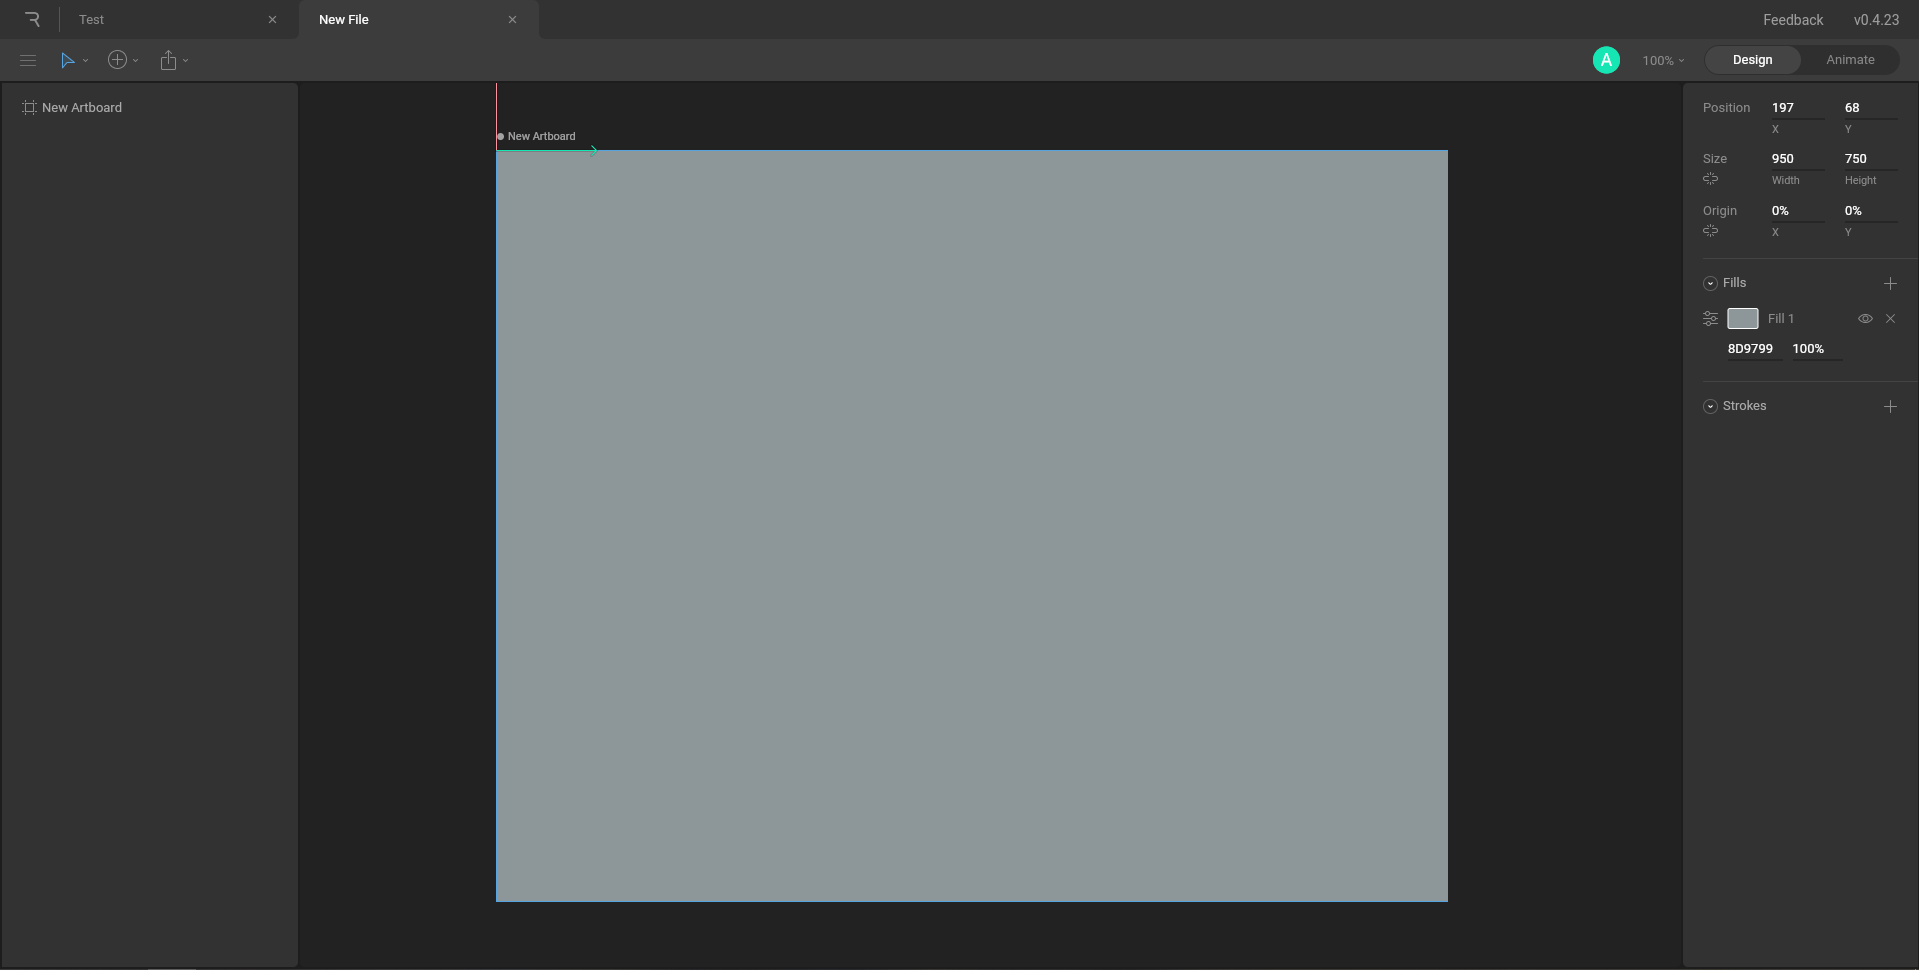
In this tutorial, we’ll be going over animating in Rive by creating a waddling penguin animation. Let’s start by drawing the penguin first. Let’s make a new artboard (950*750px) and we’ll color it a cool (literally) shade of gray.
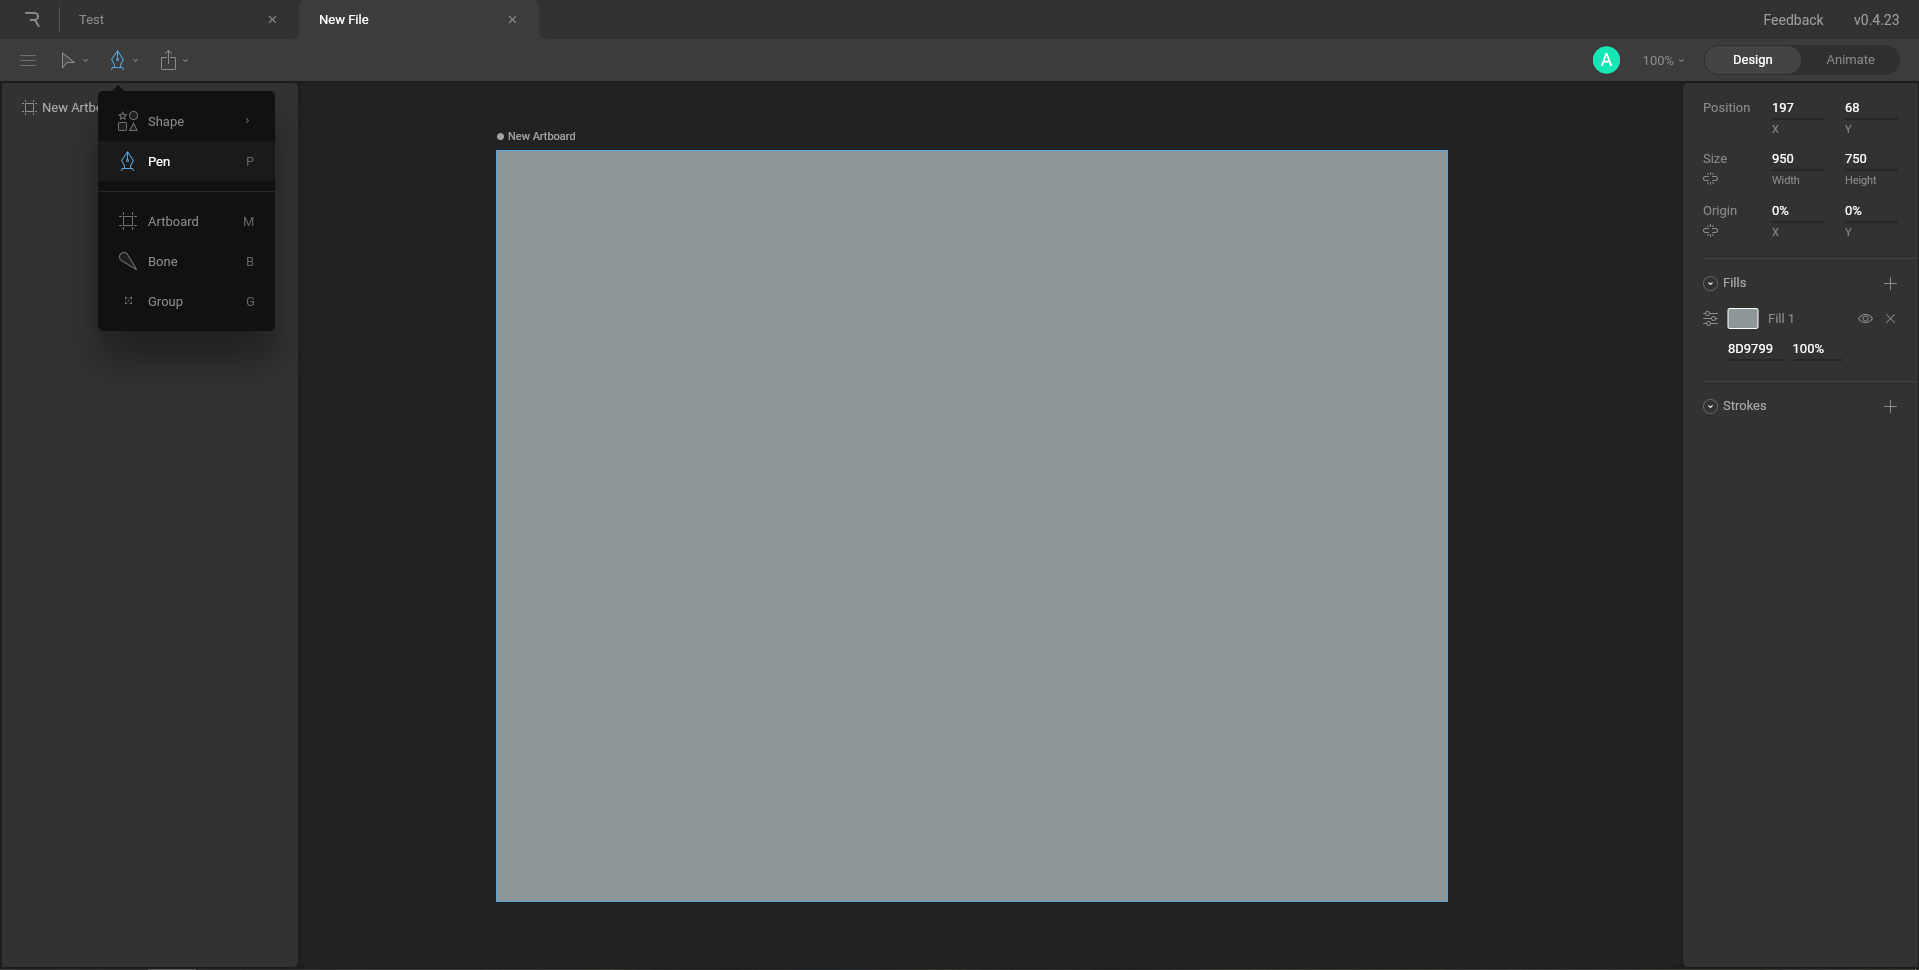
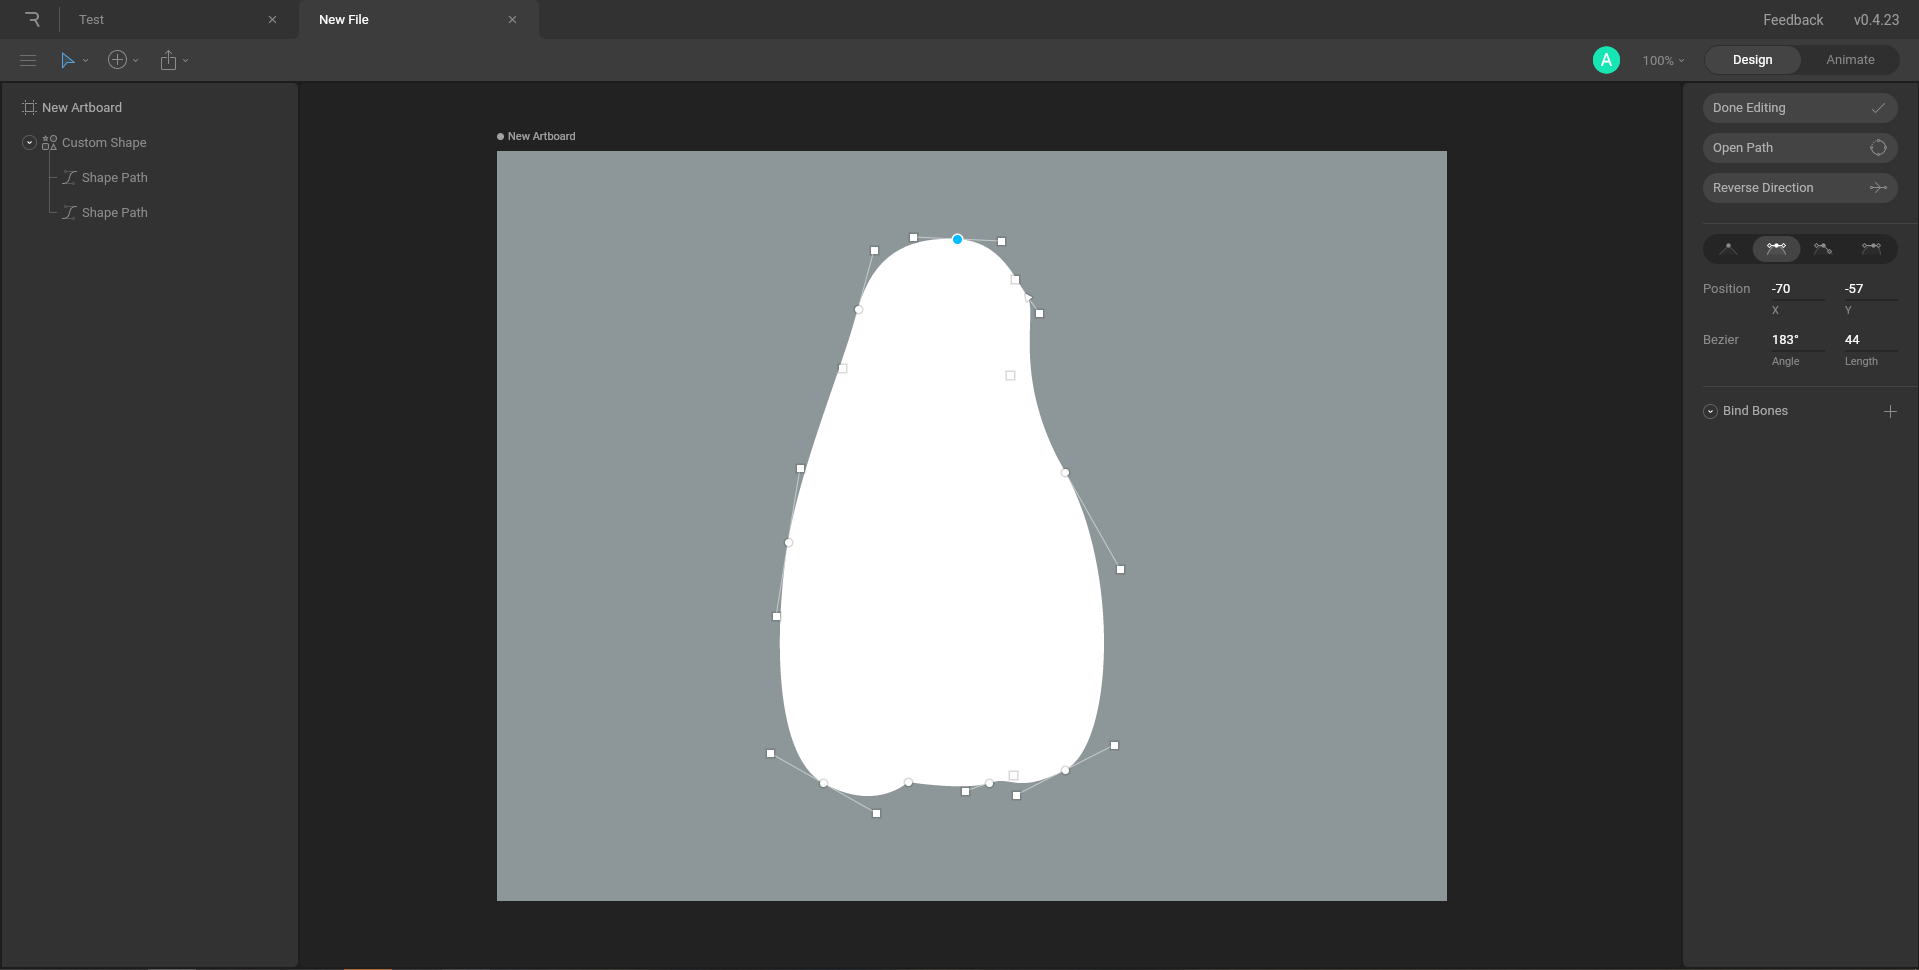
Now we can move onto drawing the base of our penguin with the pen tool. Something like a pear with a belly will do, leaving little bumps for its legs. Since our focus will be on animating, we’ll keep the penguin quite simple, we’ll only have two colors and a few shapes.
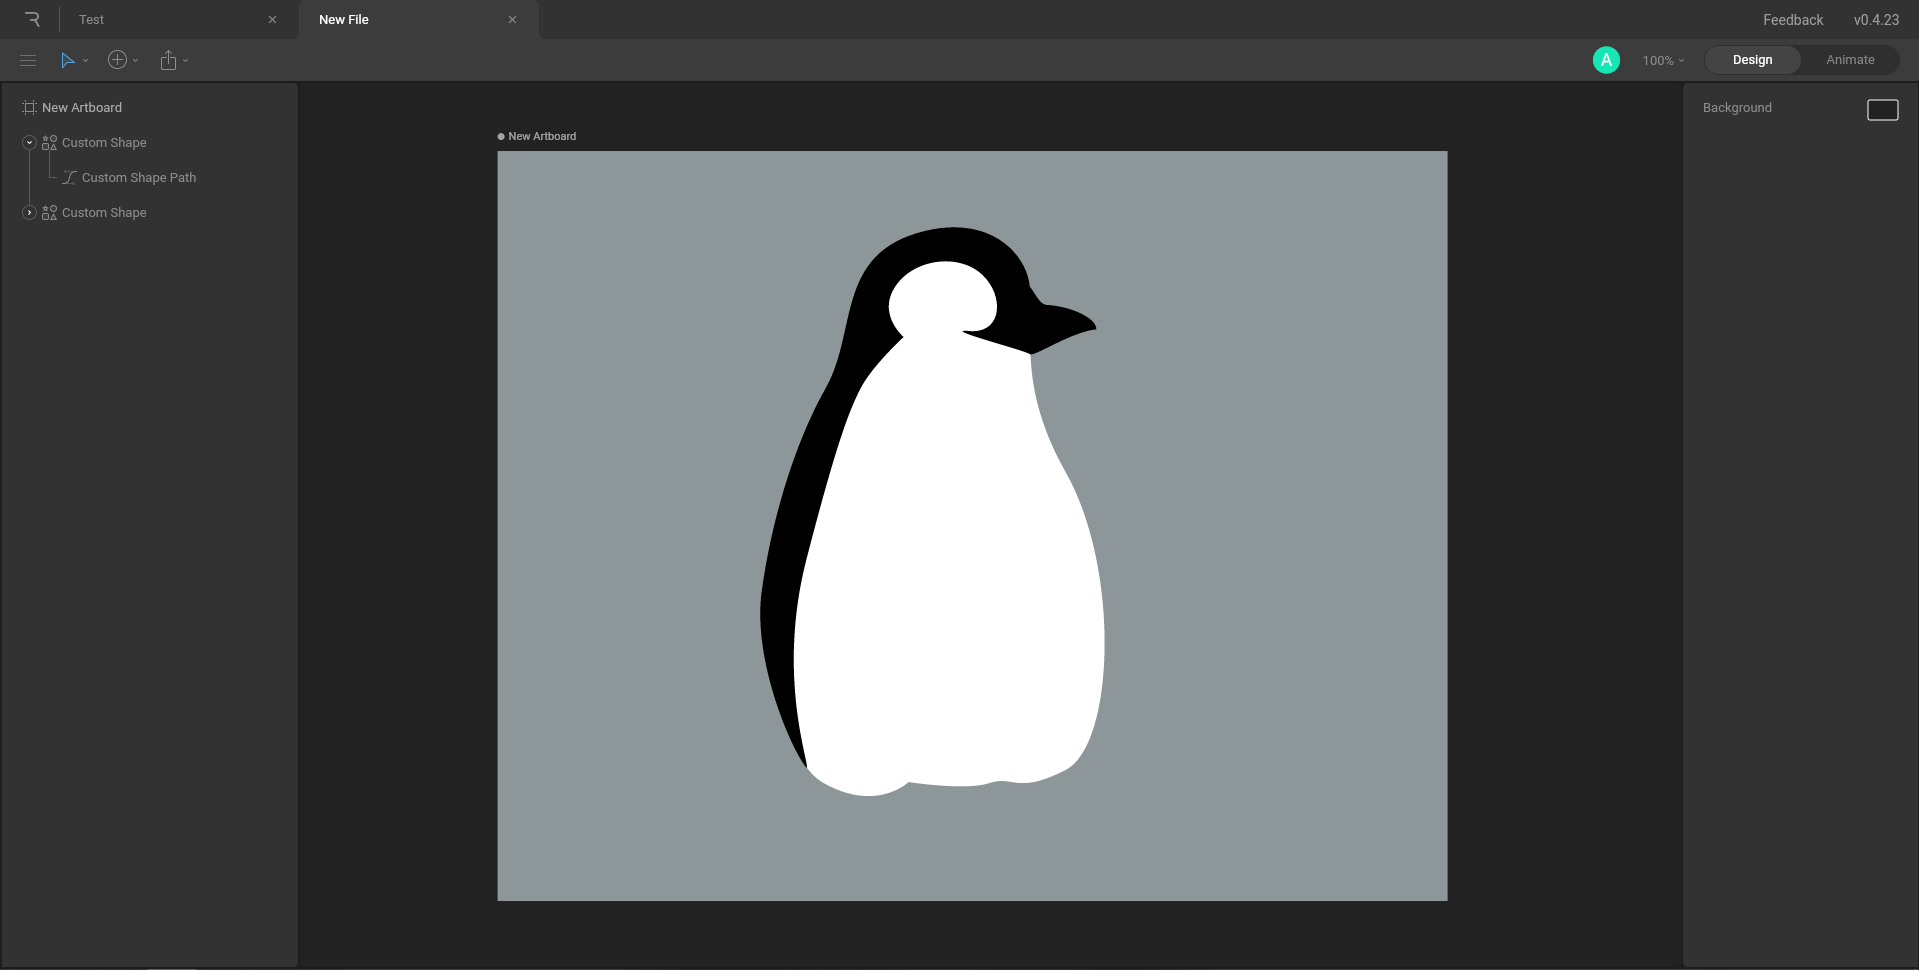
Once we’ve made the base, we can add a black stripe for its back and finish it with a little beak. We will add the black part on top of the body with the pen tool. When we’re happy with the shape, we’ll also add a simple eye by using the shape tool to make a circle. On top of the black circle, I put another white one, to add a bit of shine to it.
Our penguin needs legs too, we’ll make one leg and simply copy/paste it for the other. I made its legs a little longer, so we’ll have more room to play around with them once we start animating. Just hit CTRL+C then CTRL+V, and Rive will automatically paste a new one on top of your current leg. Keep in mind the hierarchy on the left. The legs will be at the bottom of the list as they should be added beneath the penguin’s belly.

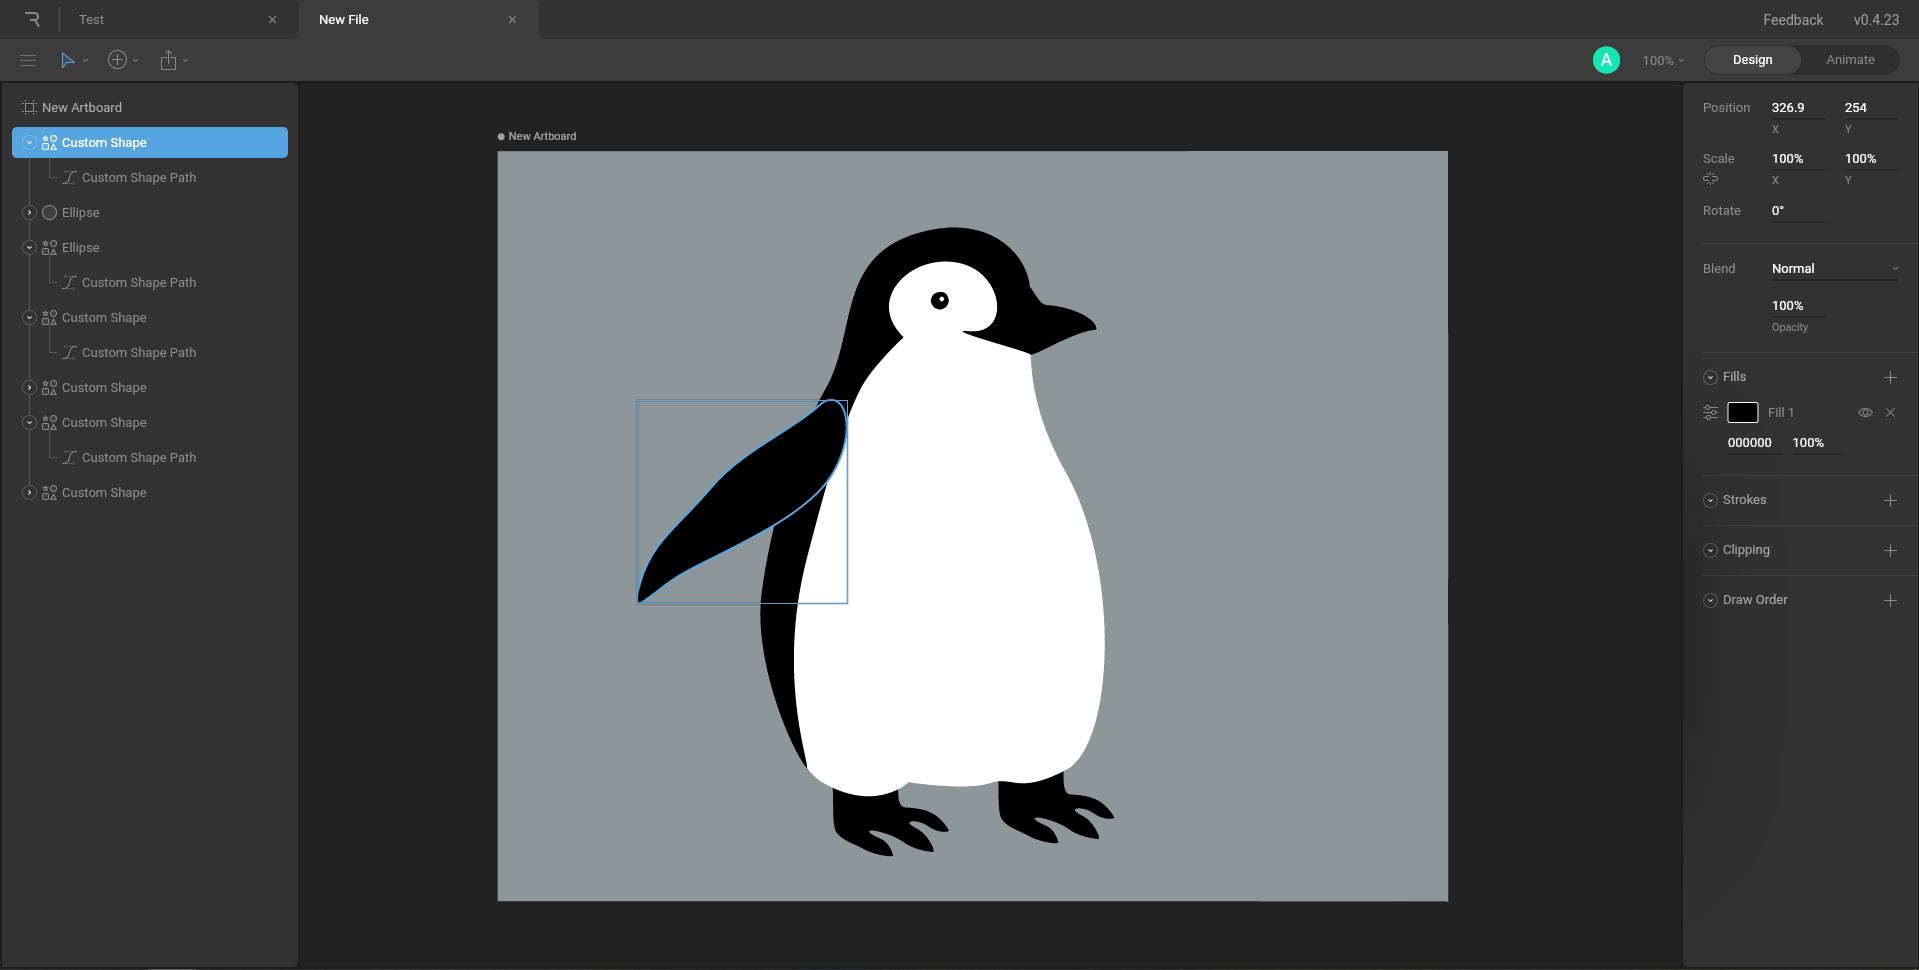
Now we can finally add its wings, that is, flippers. We’re drawn them separately because later, once we start animating, they’ll be easier to move around as it waddles. Just like with the legs, we’ll simply copy and paste the flipper onto the other side. To flip it, we’ll just change its X scale to -100.
We’ve now finished our penguin, the only thing left is to properly name every part of it. This will make the upcoming steps much easier.